 Pin it
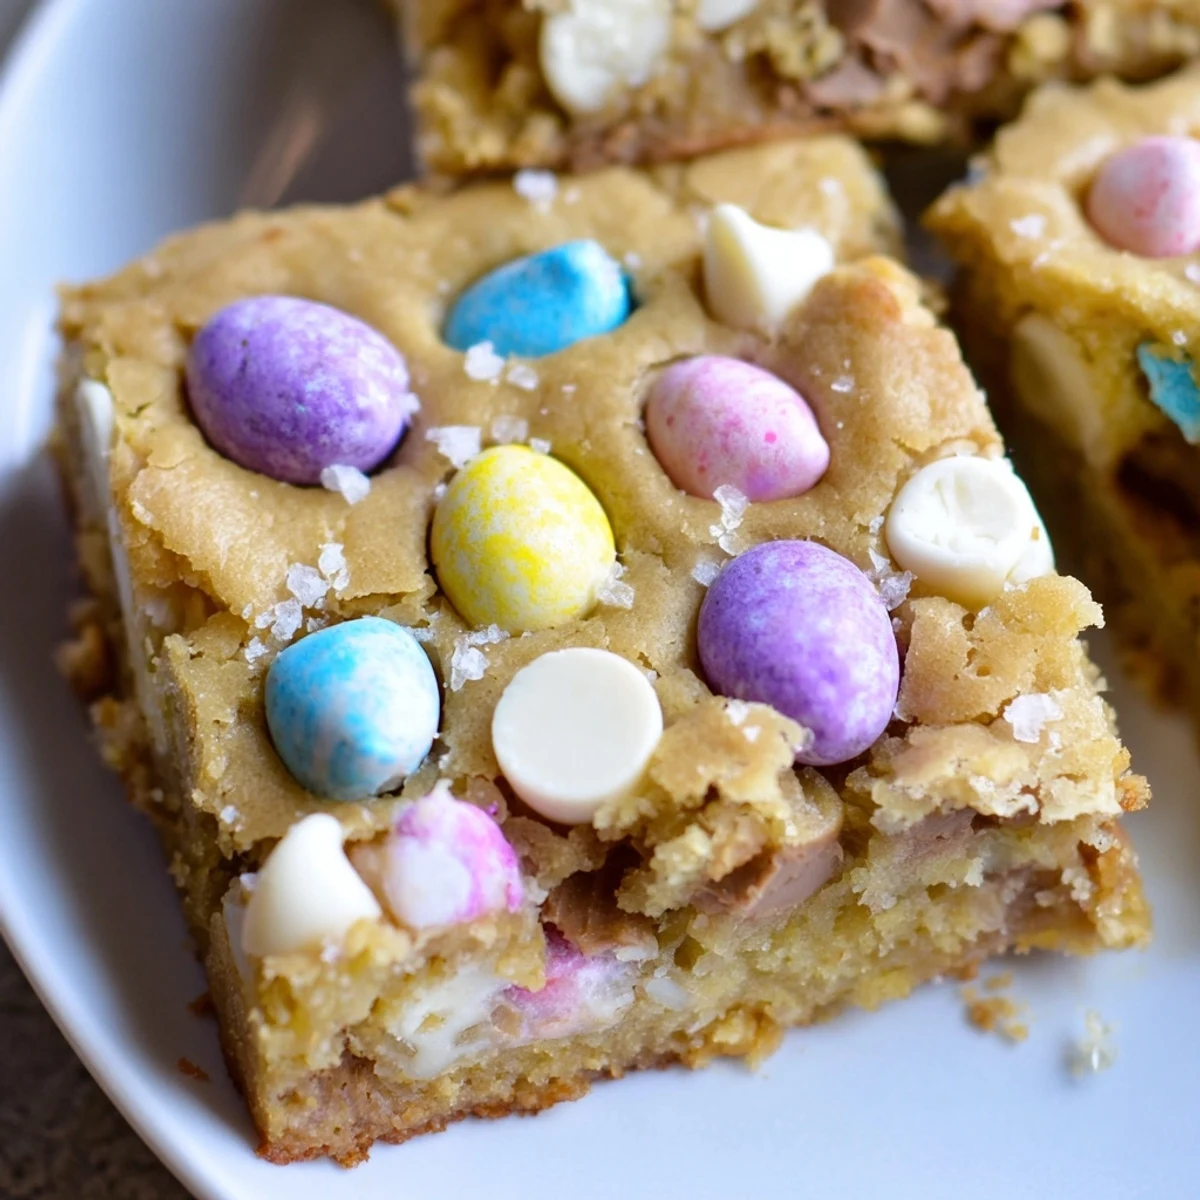
 These indulgent blondies feature a melt-in-your-mouth texture with pockets of melted white and milk chocolate throughout. The crisp candy shell of the Mini Eggs adds delightful crunch against the soft, buttery base. Perfectly gooey centers with golden edges make these an ideal addition to any spring celebration or Easter gathering.
Ready in just 40 minutes with simple pantry ingredients, these bars come together quickly. The key is folding in chopped candy pieces and reserving whole Mini Eggs for the top—creating that signature colorful presentation. Let them cool completely before cutting to achieve clean squares.
Last spring I found myself staring at three bags of Mini Eggs that somehow leapt into my grocery cart, and I knew I had to bake something special before my willpower completely vanished. These blondies became the solution, and honestly, they might be better than eating the candy straight from the bag. The first batch disappeared so fast at our family Easter gathering that my sister immediately demanded the recipe.
I made these for my book club and watched everyone's eyes widen at that first bite of crisp candy shell giving way to warm chocolate. Someone actually asked if I'd been hiding professional baking skills, which made me laugh because the recipe is practically foolproof. Now they're requested for every spring gathering.
Ingredients
- All-purpose flour: The structure that holds everything together without making these too cakey or dense
- Baking powder: Just enough lift to keep the texture light and tender
- Salt: Crucial for balancing all that sweetness and making the chocolate flavors pop
- Unsalted butter: Melted and cooled creates that irresistibly gooey center we all want in a blondie
- Light brown sugar: The secret to that rich caramel flavor and chewy texture
- Large egg: Binds everything while adding just enough structure
- Pure vanilla extract: Don't skip this, it makes the chocolate taste more chocolatey
- White chocolate chips: Creamy sweetness that pairs perfectly with the Mini Eggs
- Milk chocolate chips: Optional but adds this lovely classic chocolate note
- Cadbury Mini Eggs: The star of the show, chop most but save some whole for that gorgeous top
Instructions
- Get your oven ready:
- Preheat to 350°F and line an 8x8 pan with parchment paper, letting the edges hang over like little handles for easy lifting later.
- Whisk the dry team:
- Combine flour, baking powder, and salt in a bowl, then set it aside while you work on the good stuff.
- Make the sweet base:
- Stir melted butter and brown sugar until completely smooth, then beat in the egg and vanilla until everything's beautifully incorporated.
- Gently combine:
- Fold in the dry ingredients with a spatula just until you no longer see white streaks, being careful not to overwork the batter.
- Add all the chocolate:
- Gently fold in both kinds of chips and most of the chopped Mini Eggs, reserving some whole ones for the top.
- Spread and top:
- Evenly spread the batter into your prepared pan and press those reserved whole Mini Eggs into the surface.
- Bake to golden perfection:
- Bake for 22-25 minutes until golden and a toothpick comes out with moist crumbs, not completely clean.
- Patience pays off:
- Let them cool completely in the pan before lifting out and cutting into squares.
 Pin it
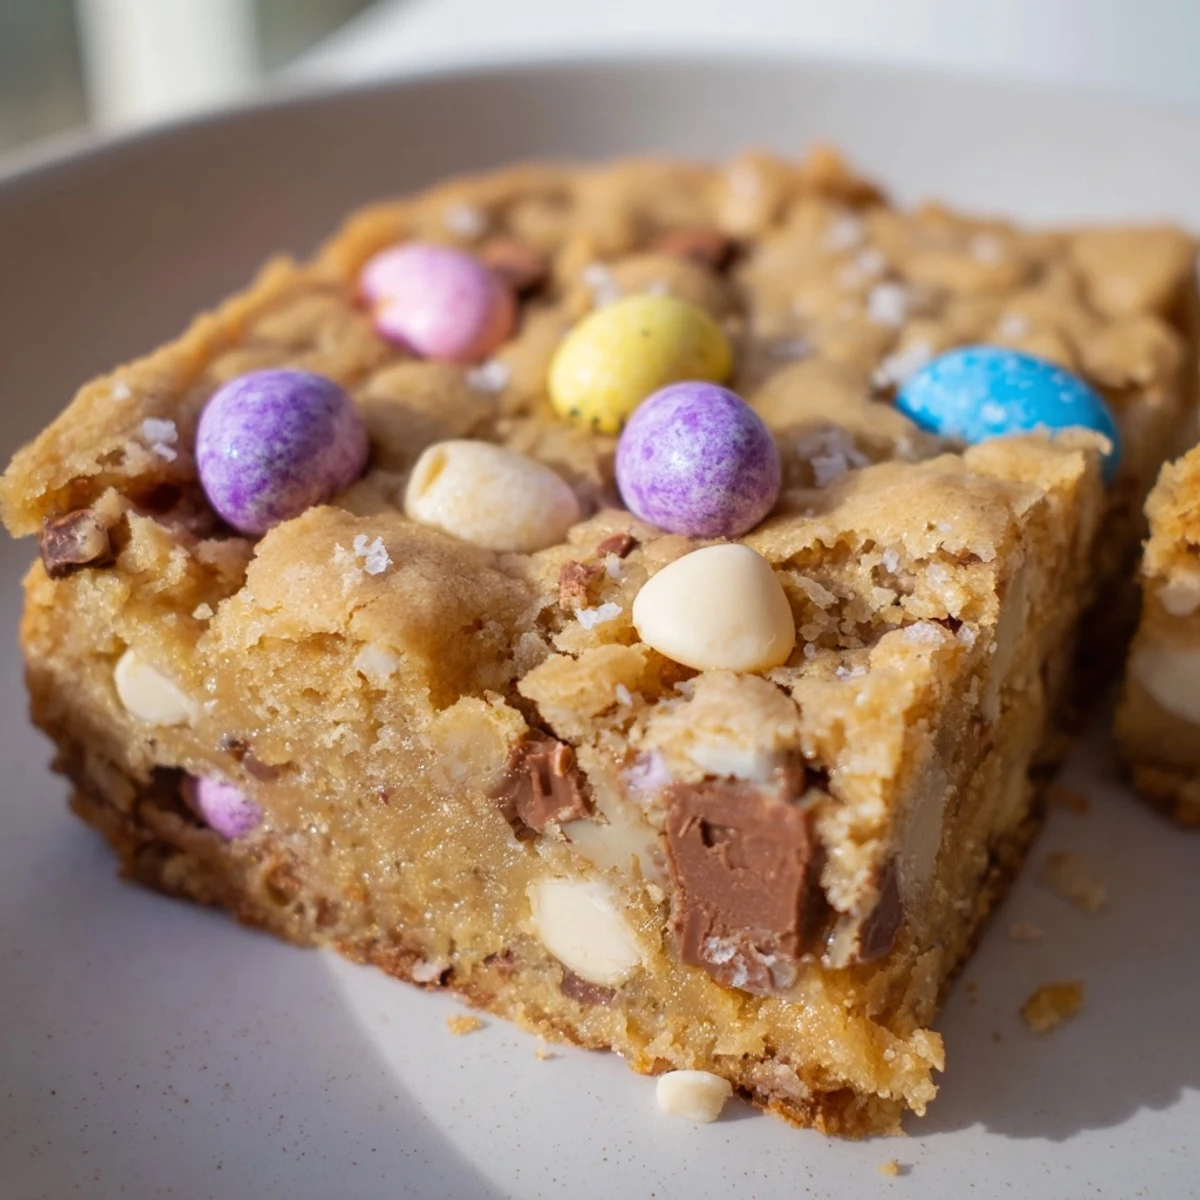
 These have become my go-to spring contribution to every potluck and dinner party. Something about that colorful candy cracking under your fork just makes people smile before they even take a bite.
Getting That Perfect Texture
The difference between a good blondie and a great one comes down to baking time and knowing your oven. I've learned that 23 minutes is the sweet spot in my oven, but yours might run hot or cold. Start checking at 22 minutes and remember that residual heat continues cooking them even after you pull them out. That slightly underdone center is what creates that irresistible gooey factor everyone loves.
Mix-In Variations
While the Mini Eggs make this Easter perfect, I've discovered some amazing combinations throughout the year. Swap in chopped peanut butter cups and milk chocolate chips for fall, or try crushed candy canes and white chocolate during winter holidays. The base blondie recipe is incredibly forgiving, so feel free to experiment with whatever seasonal candy strikes your fancy.
Make-Ahead Tips
These actually taste better on day two when the flavors have had time to mingle and the texture sets completely. I've made them up to three days ahead, storing them in an airtight container at room temperature with parchment between layers. For longer storage, wrap individual squares in plastic and freeze for up to three months, though they've never lasted that long in my house.
- Wrap the whole uncut slab in foil and freeze for last-minute dessert emergencies
- Warm individual squares for 15 seconds in the microwave for that fresh-baked experience
- Sprinkle flaky sea salt on top before baking for a sophisticated sweet-salty finish
 Pin it
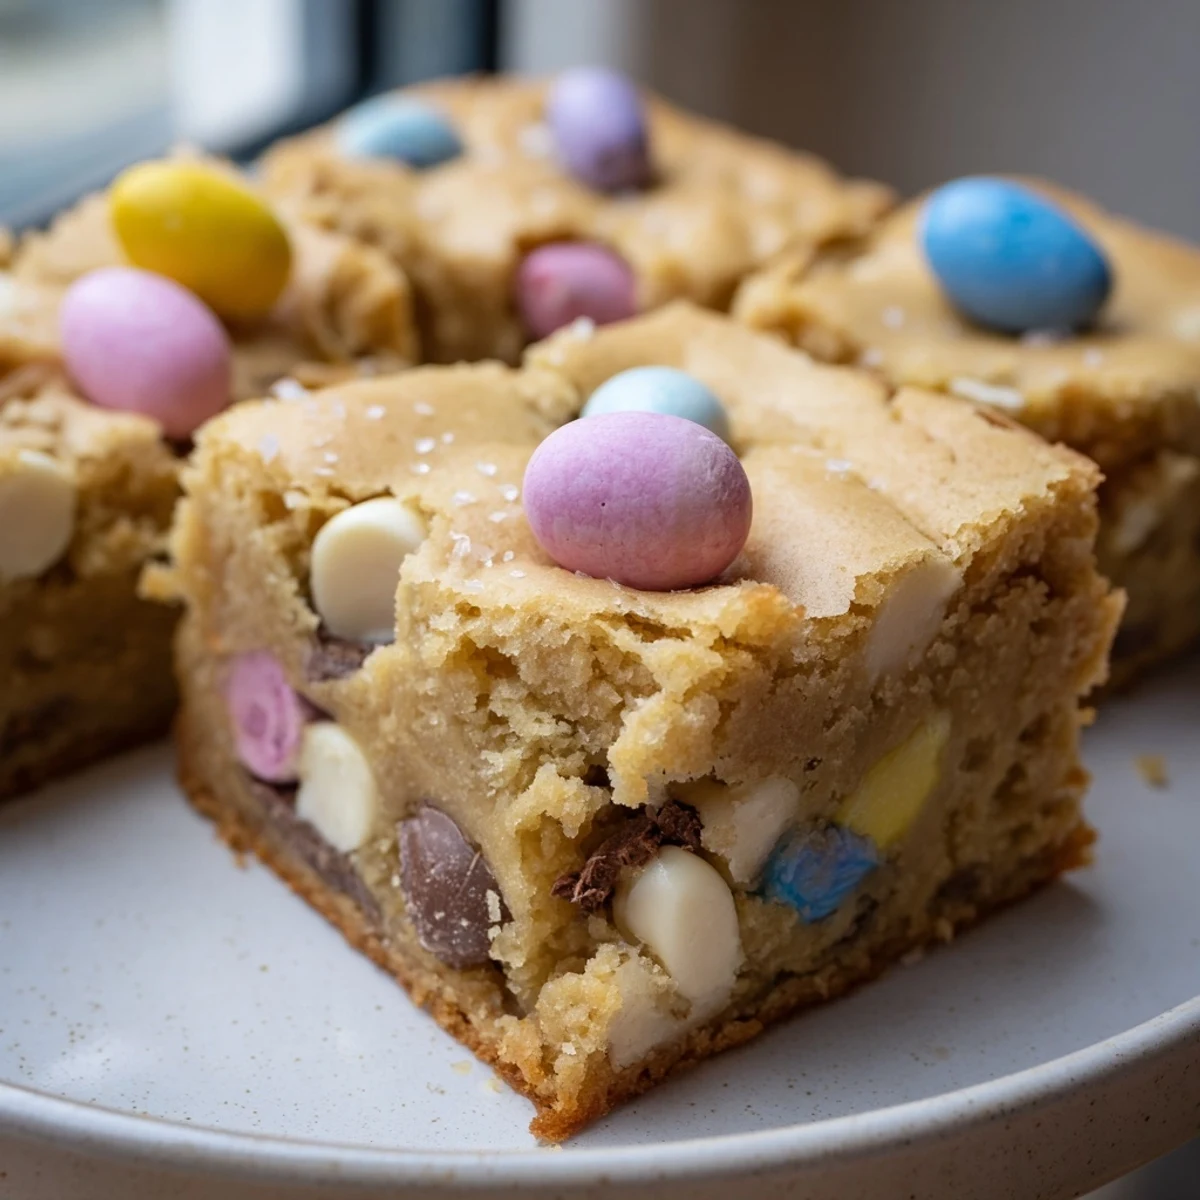
 Hope these bring as much joy to your kitchen as they have to mine this spring.
Recipe FAQs
- → What makes these blondies gooey?
-
The combination of melted butter, brown sugar, and baking at the lower end of the time range (22 minutes) creates that signature gooey texture. The added chocolate chunks also contribute to the richness.
- → Can I make these ahead of time?
-
Yes, these blondies store beautifully in an airtight container at room temperature for up to 4 days. They actually taste better the next day as flavors meld together.
- → What can I substitute for the Cadbury Mini Eggs?
-
You can use M&M's, chopped chocolate bars, or other seasonal candy-coated chocolates. The texture will be slightly different but still delicious.
- → Why should I let them cool completely before cutting?
-
Cooling allows the blondies to set properly, making them easier to cut into clean squares. Cutting while warm can cause them to crumble or lose shape.
- → Can I freeze these blondies?
-
Absolutely! Wrap individual squares tightly in plastic wrap and freeze for up to 3 months. Thaw at room temperature for about an hour before serving.
- → How do I know when they're done baking?
-
Insert a toothpick in the center—it should come out with a few moist crumbs, not completely clean. The top should be golden brown and the edges slightly set.
