 Pin it
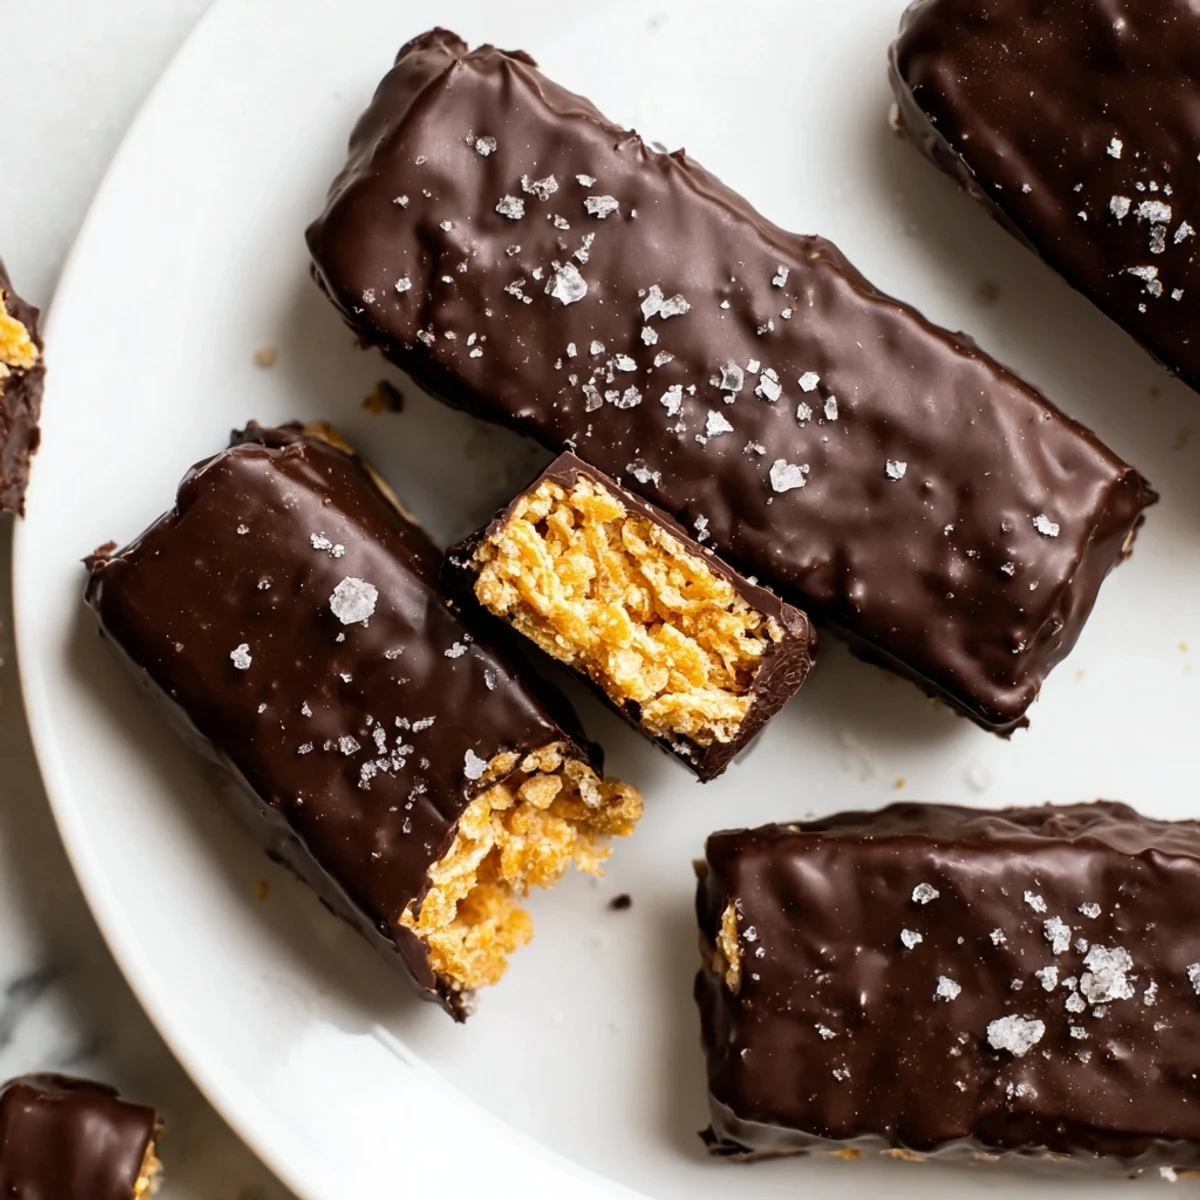
 These homemade Butterfinger bars deliver all the crunchy, peanut buttery goodness of the classic candy without the heaviness. A simple mixture of creamy peanut butter, maple syrup, and crushed cornflakes creates that signature crisp texture, while a generous coating of melted dark chocolate seals everything together.
Ready in about an hour with minimal cooking involved, they're vegetarian-friendly and easily made gluten-free and vegan with simple ingredient swaps. Store them in the fridge for a cool, satisfying treat any time.
The candy aisle at the grocery store always gets me, especially those orange and yellow Butterfinger packages staring back from the shelf. One rainy Tuesday I decided to stop buying them and start making my own version at home, something with fewer mystery ingredients and more of that unmistakable crunchy peanut butter snap. My kitchen smelled like a candy shop within twenty minutes, and I knew right then this was going to be a regular thing. The best part is how absurdly simple the whole process turned out to be.
I brought a batch of these to a movie night at my friends place and set them on the coffee table without saying a word. Within ten minutes half the plate was gone and someone asked which boutique candy shop I had visited that afternoon. When I told them I made them in my kitchen with peanut butter and cornflakes, the room went quiet in the best way possible.
Ingredients
- Natural creamy peanut butter (1 cup): Use the kind with just peanuts and salt on the label, as the stabilized sugary varieties throw off the texture and make the filling too soft.
- Pure maple syrup or honey (1/2 cup): This is your sweetener and your binder, so do not skimp here, and maple syrup keeps the recipe vegan friendly.
- Vanilla extract (1 teaspoon): A small amount rounds out the flavors and makes the filling taste like actual candy rather than a quick snack mix.
- Cornflakes (2 cups, lightly crushed): The secret to that signature flaky crunch, and crushing them just a little with your hands gives you the perfect irregular texture.
- Sea salt (pinch): Just a touch makes the peanut butter sing and balances the sweetness of the maple syrup beautifully.
- Dark chocolate chips (1 1/2 cups): Go for something around sixty to seventy percent cacao for a coating that sets firm and tastes rich against the sweet interior.
- Coconut oil (1 tablespoon): This thins the melted chocolate just enough for smooth dipping and gives the coating a satisfying snap when it sets.
Instructions
- Prep your pan:
- Line an eight by eight inch baking dish with parchment paper, leaving some overhang on the sides so you can lift the whole block out later without wrestling with it.
- Warm the peanut butter mixture:
- Combine the peanut butter and maple syrup in a saucepan over medium low heat, stirring gently until everything melts together into a silky golden pool, about two to three minutes.
- Add flavor and crunch:
- Take the pan off the heat and stir in the vanilla and salt, then fold in the crushed cornflakes until every flake is coated in that sticky peanut butter mixture.
- Press and freeze:
- Spread the mixture into your prepared pan, pressing it flat and even with a spatula, then slide it into the freezer for twenty to thirty minutes until it holds its shape firmly.
- Cut into bars:
- Lift the set block out using the parchment overhang and cut it into sixteen bars with a sharp knife, wiping the blade between cuts for cleaner edges.
- Melt the chocolate:
- Combine the chocolate chips and coconut oil in a microwave safe bowl and heat in thirty second bursts, stirring between each, until the mixture is completely smooth and glossy.
- Dip and coat:
- Carefully dip each bar into the melted chocolate, turning it with a fork to cover all sides, then let the excess drip off before placing it on a parchment lined tray.
- Chill until set:
- Place the tray in the refrigerator for fifteen to twenty minutes, or until the chocolate shell is firm to the touch and no longer tacky.
 Pin it
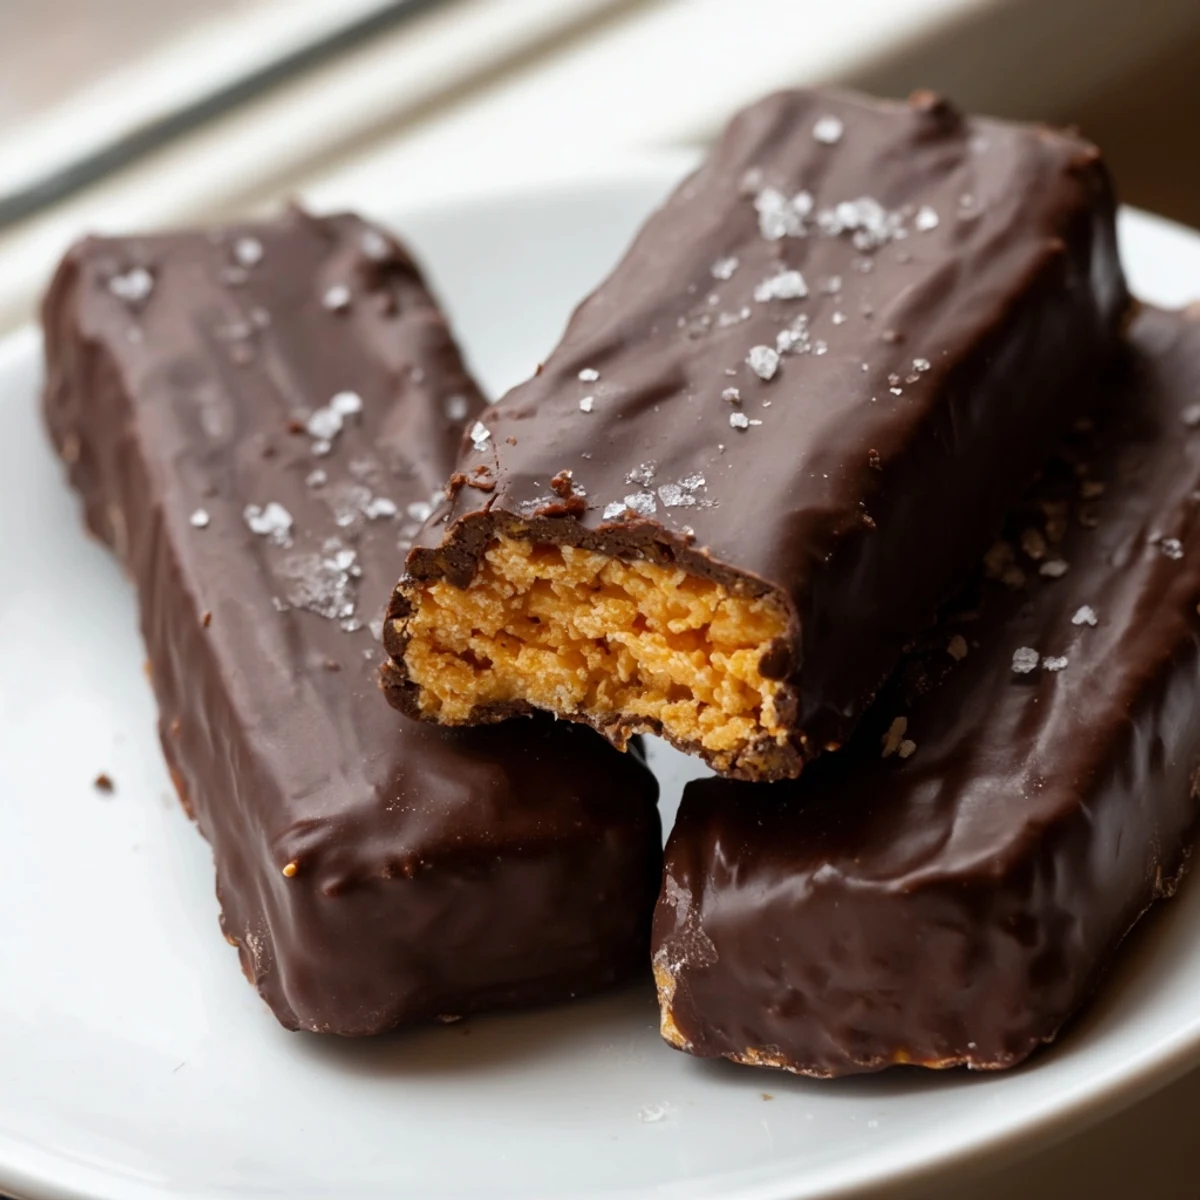
 The moment I realized these bars had become a staple was when my neighbor knocked on my door not to borrow tools but to ask if I had any of those peanut butter candies in the fridge. Food becomes something more when people start anticipating it, when it shows up in casual conversation and inside jokes. These bars have a way of doing exactly that without any effort at all.
Making It Your Own
Once you have the base technique down, the variations are wide open. I have swapped peanut butter for almond butter with great results, and a friend drizzles white chocolate over the dark coating for a striking look. You could also press the warm mixture into silicone molds for fun shapes if you are making these for a party or holiday.
Storing Your Homemade Candy
Keep these bars in an airtight container in the refrigerator and they stay fresh and delicious for up to two weeks. They also freeze beautifully for up to three months, which means you can always have a batch ready for unexpected guests or late night sweet cravings.
Tools and Equipment
You do not need much to pull this off, which is part of what makes it such a satisfying weekend project. A saucepan, a spatula, an eight by eight inch pan, parchment paper, and either a microwave or a double boiler for melting chocolate are really all that stands between you and homemade candy bars.
- A bench scraper or the back of a spoon helps press the filling into an even, compact layer.
- Use a fork for dipping the bars into chocolate so the excess can drain through the tines.
- Always check that your cornflakes are certified gluten free if that matters for your diet.
 Pin it
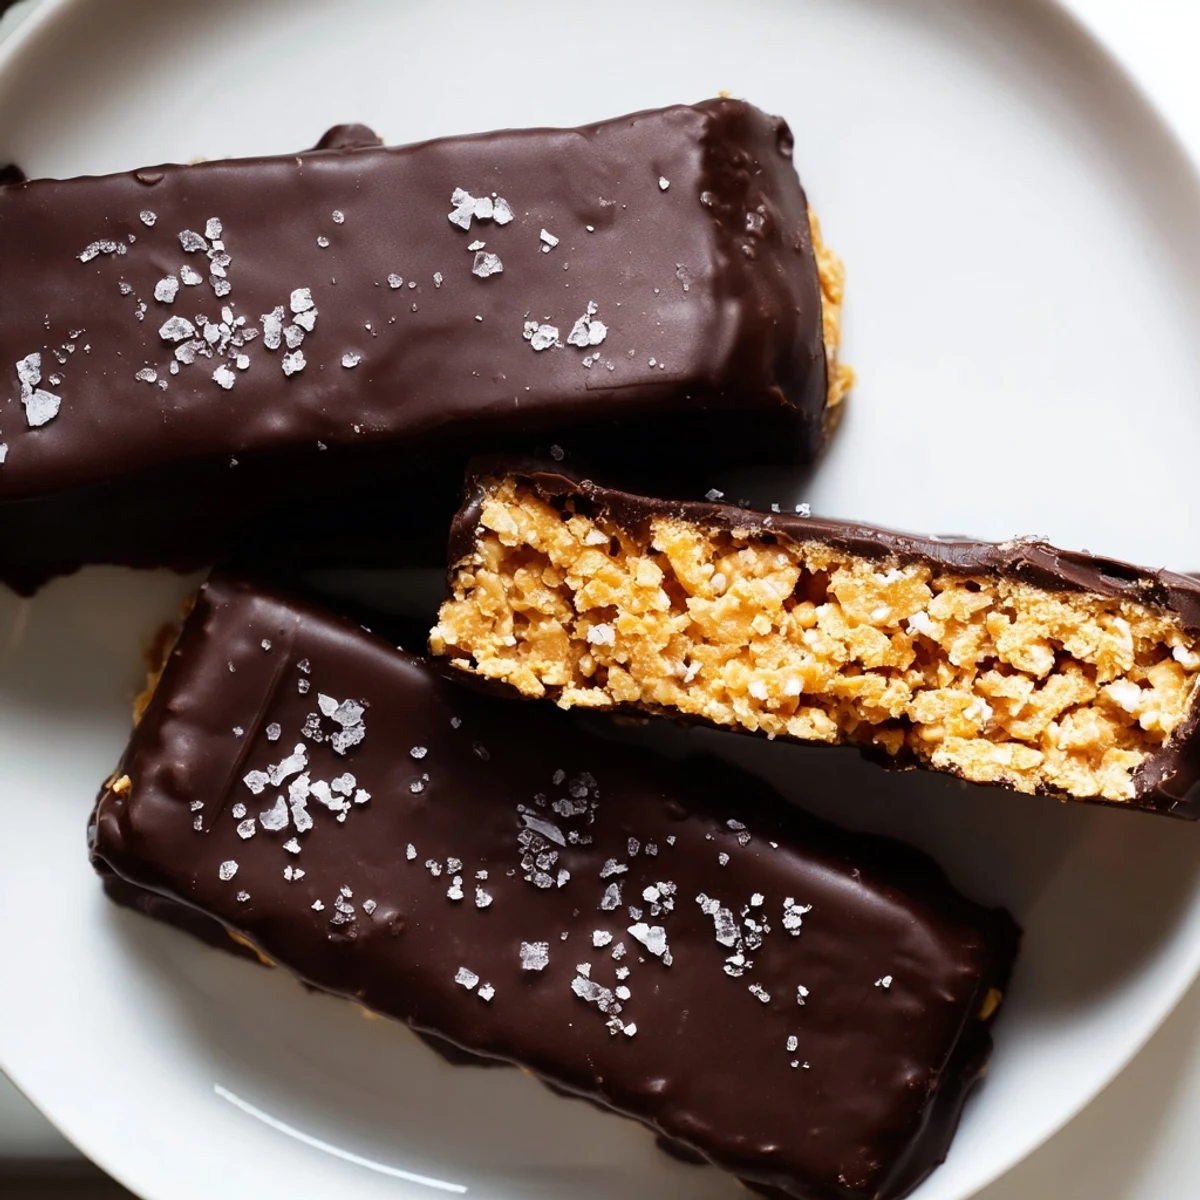
 There is something deeply satisfying about cracking open your own refrigerator and reaching for a candy bar you made from scratch. These bars prove that the best treats do not require fancy equipment or hours of work, just good ingredients and the willingness to try.
Recipe FAQs
- → Can I make these Butterfinger bars vegan?
-
Yes, simply use maple syrup instead of honey and choose dairy-free dark chocolate chips. Coconut oil remains the same. Always verify your cornflakes are vegan-friendly as well.
- → Why are my bars falling apart when dipping?
-
Make sure the peanut butter mixture has fully set in the freezer for at least 20-30 minutes before cutting. If the bars are too warm, return them to the freezer for 10 minutes before dipping in chocolate.
- → What can I substitute for cornflakes?
-
Rice cereal works as a direct substitute and keeps the bars gluten-free. Crushed pretzels or graham crackers can also work but will alter the texture and dietary profile slightly.
- → How should I store leftover bars?
-
Keep bars in an airtight container in the refrigerator for up to two weeks. For longer storage, freeze them for up to three months. Let frozen bars thaw in the fridge before enjoying.
- → Can I use milk chocolate instead of dark chocolate?
-
Absolutely. Milk chocolate melts and coats just as well, though it will be sweeter. You may want to reduce the coconut oil slightly if your milk chocolate is already quite soft.
