 Pin it
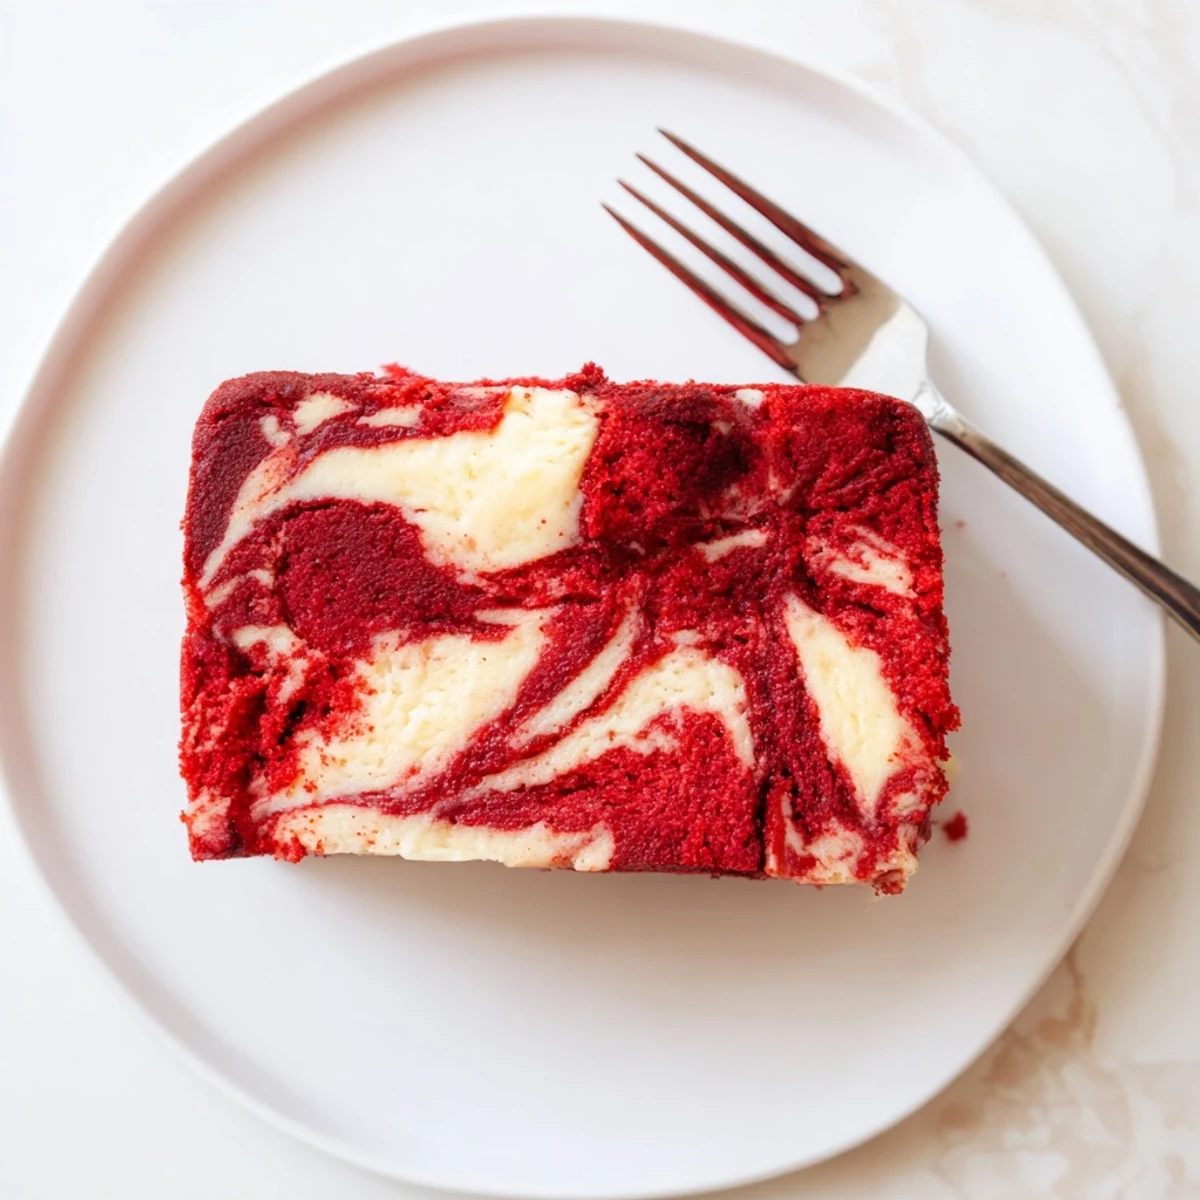
 This stunning dessert combines the classic appeal of red velvet with indulgent cream cheese swirls. The buttermilk-based cake stays incredibly moist while the cheesecake ribbons add tangy richness throughout every bite.
Preparation takes just 25 minutes before baking for 50 minutes. The marbling technique creates beautiful patterns that make this showstopper perfect for birthdays, holidays, or any special gathering.
Serve chilled or at room temperature, optionally dusted with powdered sugar or topped with cream cheese glaze for extra indulgence.
The first time I made this red velvet cheesecake swirl cake, my kitchen counter looked like a crime scene. Red food coloring everywhere, flour on my shirt, but the moment it came out of the oven with those gorgeous cream cheese rivers running through it, I forgot about the mess entirely. Something about the contrast between that deep crimson cake and the creamy white swirl just makes people stop and stare. I started making it for birthdays, then office parties, then pretty much any excuse I could find.
My sister requested this for her baby shower last spring, and I made three batches because I kept testing the swirl technique. The best part was watching everyone try to guess how I created those patterns, like I had some secret pastry training. Really it was just a butter knife and a lot of nervous confidence that day.
Ingredients
- 2 cups all-purpose flour: Sift it first to avoid any lumps that will disrupt your marble pattern
- 1 ½ cups granulated sugar: This amount balances the tangy cheesecake perfectly without being cloying
- 1 tsp baking powder and ½ tsp baking soda: Both are essential for that signature red velvet lift
- 1 tbsp unsweetened cocoa powder: Just enough to give depth without overpowering the delicate vanilla flavor
- ½ tsp salt: Enhances all the other flavors and keeps the cake from tasting flat
- 1 cup buttermilk: The acid reacts with the baking soda for tenderness and adds subtle tang
- ½ cup vegetable oil: Makes the cake incredibly moist and keeps it that way for days
- 2 large eggs: Room temperature eggs incorporate better and create a more uniform crumb
- 2 tsp vanilla extract: Use the good stuff here since it shines through in both layers
- 1 tsp white vinegar: This little trick activates the cocoa and enhances the red color
- 2 tbsp red food coloring: Gel coloring gives you that intense restaurant quality red
- 8 oz cream cheese: Absolutely must be softened to room temperature or you will have lumps
- ⅓ cup granulated sugar: Just enough sweet to balance the cream cheese without making it cloying
- 1 large egg: Binds the cheesecake layer and gives it that silky texture
- 1 tsp vanilla extract: Pure vanilla makes the cheesecake layer sing
Instructions
- Get your oven and pan ready:
- Preheat to 350°F and line a 9x13 pan with parchment paper, greasing the sides thoroughly
- Whisk the dry ingredients together:
- Combine flour, sugar, baking powder, baking soda, cocoa powder, and salt in a large bowl
- Mix your wet ingredients:
- Whisk buttermilk, oil, eggs, vanilla, vinegar, and red food coloring until fully combined
- Combine the batters:
- Pour wet into dry and fold gently just until you no longer see dry streaks
- Spread the red velvet base:
- Pour the batter into your prepared pan and level it with an offset spatula
- Make the cheesecake swirl:
- Beat softened cream cheese until smooth, then add sugar, egg, and vanilla until creamy
- Create the marble effect:
- Drop spoonfuls of cheesecake mixture over the red velvet batter, then swirl gently with a knife
- Bake until set:
- Bake for 45 to 50 minutes until a toothpick comes out mostly clean
- Let it cool completely:
- Cool in the pan on a wire rack before slicing or the swirl pattern will smudge
 Pin it
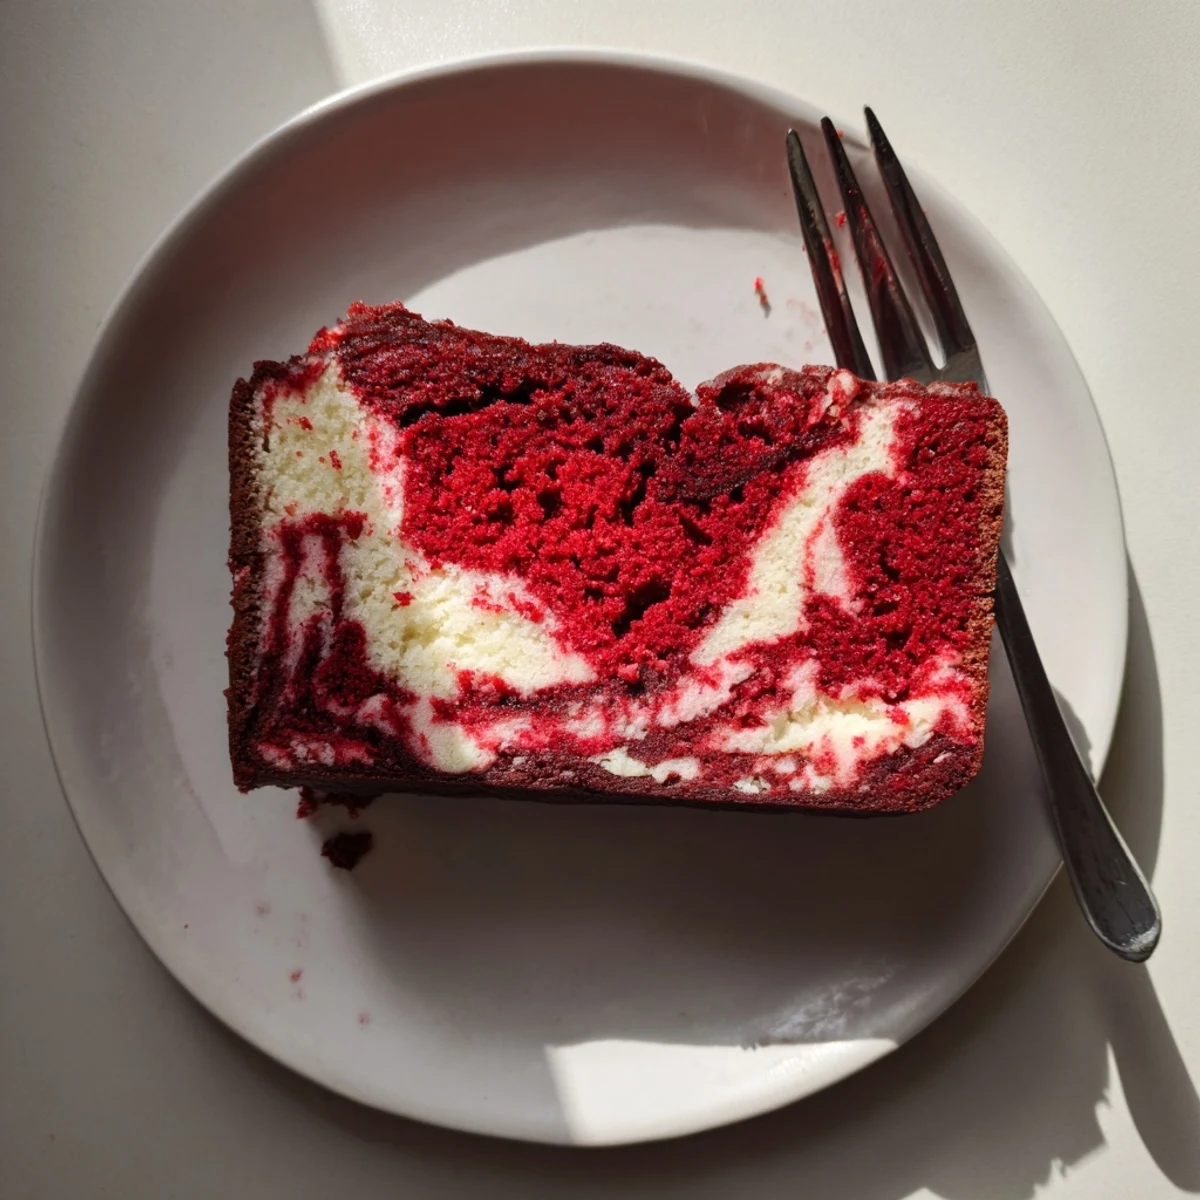
 Last Christmas I brought this to a potluck and someone actually asked for the recipe before they even finished their first slice. Watching people lean over the dessert table, pointing at the swirls and trying to figure out how it was made, has become one of my favorite parts of baking this cake. Food is supposed to be fun, and something about cutting into that marbled surface makes everyone feel like a kid again.
Mastering The Marble Technique
I learned the hard way that less swirling creates better patterns. My first attempt looked like pink camouflage because I got too enthusiastic with the knife. Now I drop about six or seven dollops of cheesecake batter across the red velvet base, then drag a butter knife through them in an S pattern just once or twice. The marble effect is most striking when the two batters remain distinct in places, gently blending at their edges. Do not be afraid to leave some areas mostly red velvet and others mostly cheesecake, that contrast is what makes this cake show stopping.
Room Temperature Rules
This recipe taught me that room temperature ingredients are not just a suggestion. The one time I rushed and used cold cream cheese, I ended up with tiny lumps throughout the cheesecake layer that looked like cottage cheese. Now I set everything out on the counter about an hour before I start baking. The eggs whip up fluffier, the buttermilk incorporates more smoothly, and the cream cheese becomes silken without any effort. Those thirty minutes of patience make a difference you can actually taste and see in the final crumb.
Making It Ahead
The flavors actually deepen after a day in the refrigerator, which is perfect for planning ahead. I often bake this the night before a party and let it chill overnight wrapped tightly in plastic. The red velvet becomes more moist and the cheesecake layer firms up just enough to create clean slices. Just bring it to room temperature for about thirty minutes before serving so the cream cheese softens again. Some things really do get better with a little patience.
- Dust with powdered sugar right before serving for a bakery style finish
- A simple cream cheese glaze takes this cake over the top if you want extra indulgence
- Store any leftovers covered in the refrigerator for up to four days
 Pin it
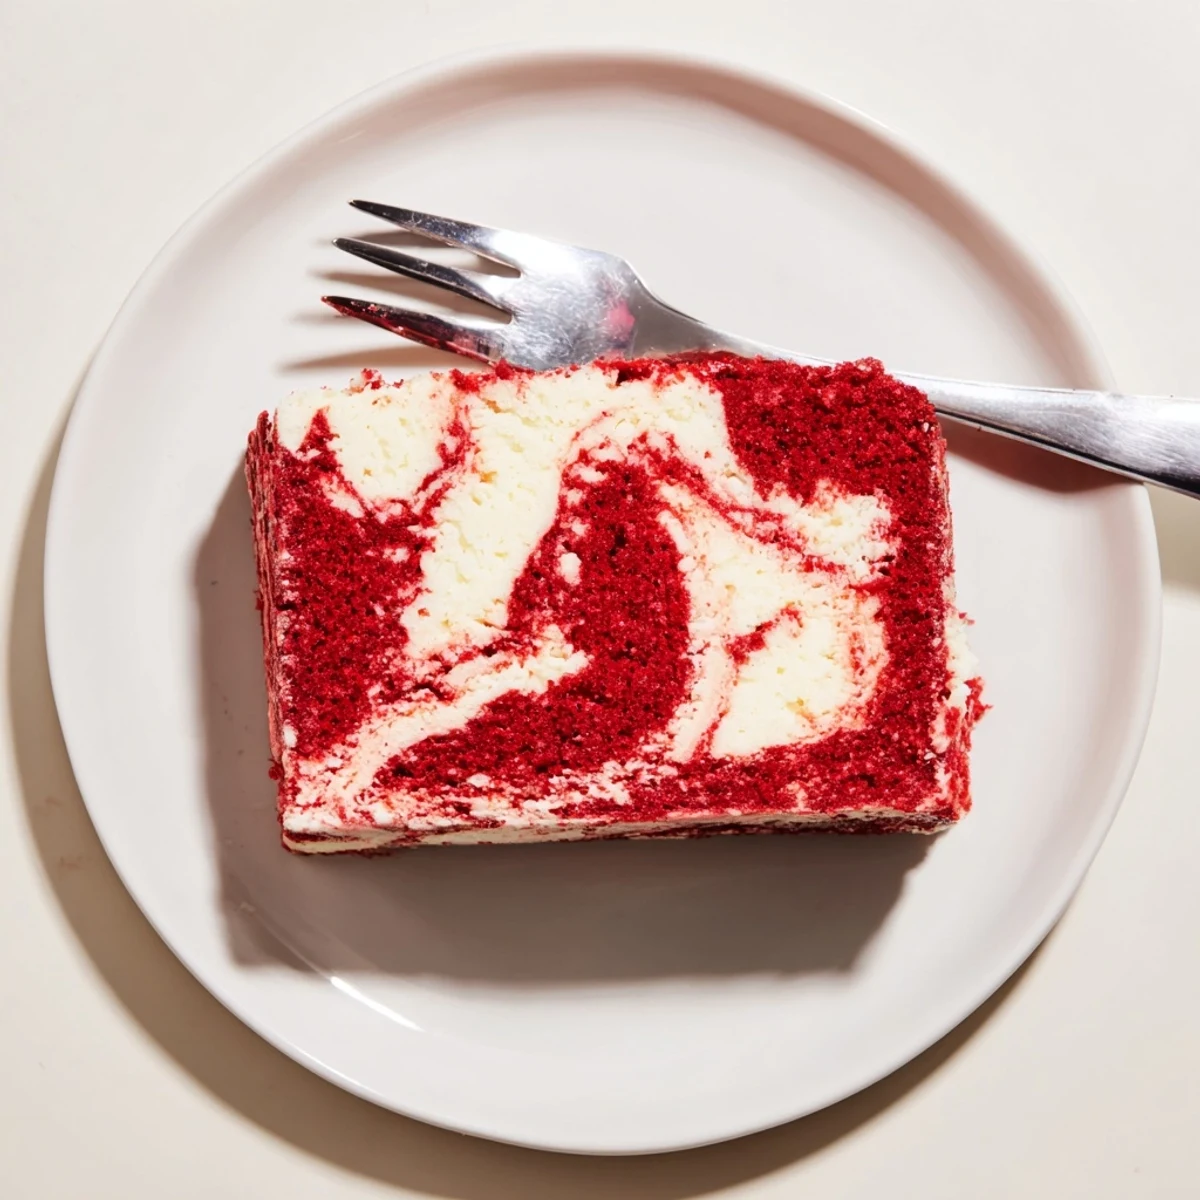
 This cake has become my go to for moments that matter, the celebrations, the comforting friend dates, the Tuesdays that just need something beautiful. Hope it brings as much joy to your table as it has to mine.
Recipe FAQs
- → How do I achieve the perfect marble swirl?
-
Dollop spoonfuls of cheesecake mixture over the red velvet batter, then use a knife or skewer to gently swirl through both layers. Avoid over-swirling, which can muddy the distinct marble pattern.
- → Can I make this ahead of time?
-
Absolutely. This tastes even better after chilling overnight. Store covered in the refrigerator for up to 4 days. Bring to room temperature 30 minutes before serving if desired.
- → What's the best food coloring to use?
-
Gel food coloring provides the most vibrant red hue without altering the batter consistency. Liquid coloring works but may require slightly more to achieve the same intensity.
- → How do I know when it's done baking?
-
Insert a toothpick into the center—it should come out mostly clean. A little cheesecake residue is acceptable, but wet batter means more time is needed. The edges should pull slightly from the pan.
- → Can I freeze this dessert?
-
Yes, wrap individual slices or the whole cake tightly in plastic and foil. Freeze for up to 3 months. Thaw overnight in the refrigerator before serving.
- → What pan size works best?
-
A 9x13-inch pan creates the ideal thickness for both cake and cheesecake layers. Larger pans may cause thin layers, while smaller ones could overflow during baking.
