 Pin it
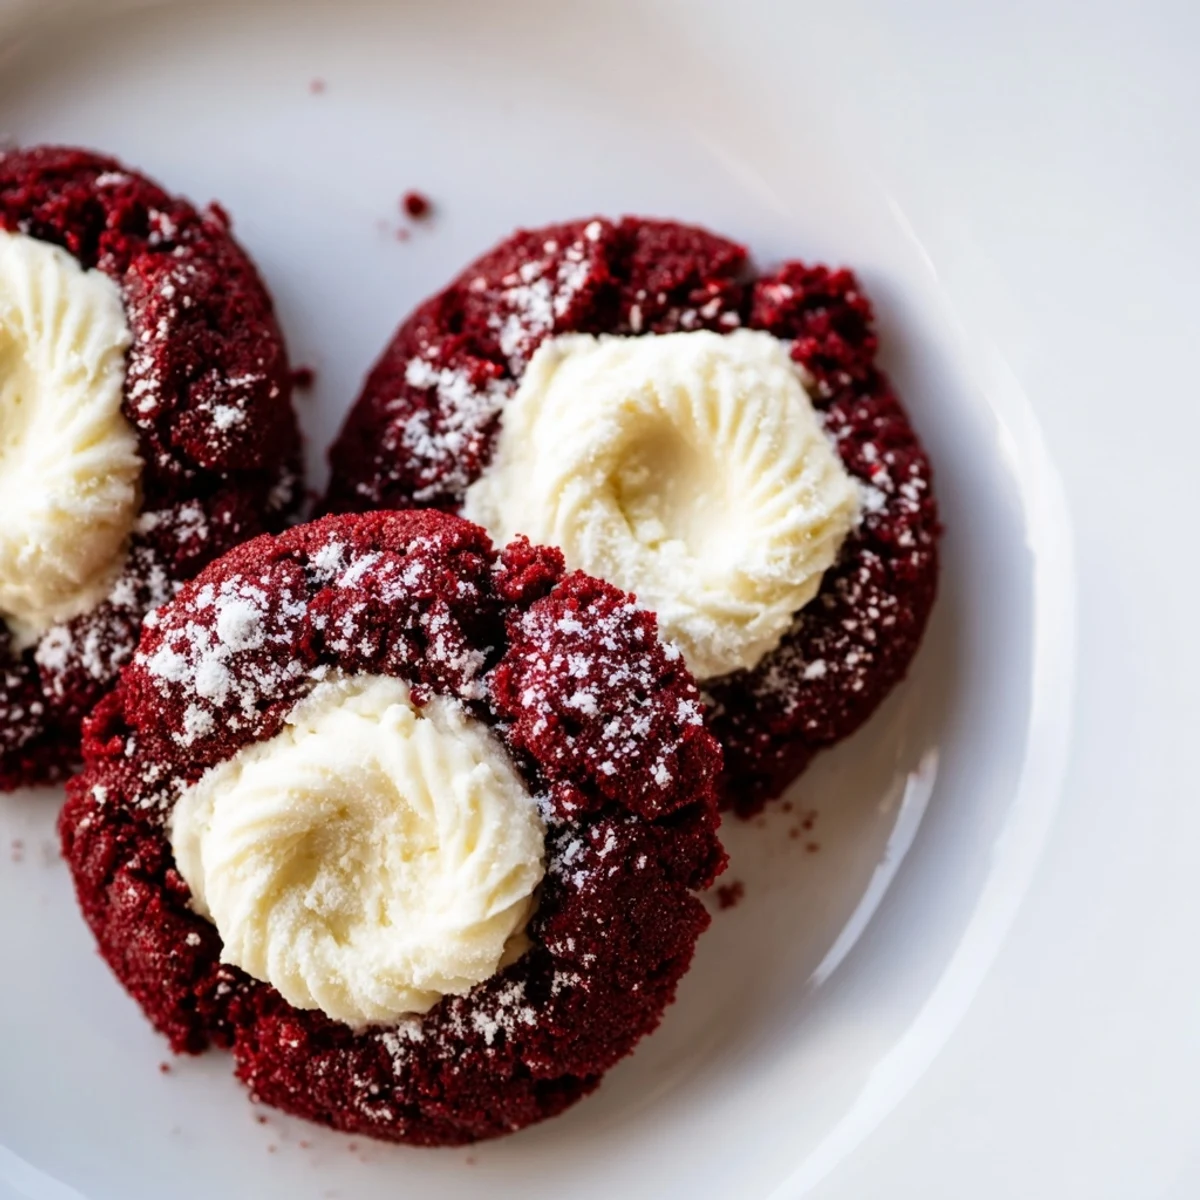
 These striking red velvet thumbprint cookies combine the classic cocoa-rich flavor of red velvet with a velvety cream cheese center. The dough comes together easily with basic pantry ingredients, resulting in cookies with a tender crumb and signature deep red color. Each cookie features a thumbprint indentation filled with a sweetened cream cheese mixture that bakes into a smooth, creamy center.
The method is straightforward: cream butter and sugar, add the signature red coloring, then fold in cocoa-spiked flour. Roll into balls, press centers, and fill before baking. The edges set while the filling stays lusciously creamy. These festive treats are perfect for holiday cookie platters, Valentine's Day, or whenever you want something impressive yet simple.
For variation, swap the cream cheese filling for white chocolate ganache, or top with sprinkles for extra celebration appeal. The cookies store beautifully in the refrigerator, making them ideal for preparing ahead of gatherings.
The first time I made these, I was rushing to a holiday party and accidentally doubled the red food coloring. My kitchen looked like a crime scene, but those cookies were the most vibrant red anyone had ever seen. Now I measure carefully, but I still love how these little jewels catch the light on a cookie platter.
Last Christmas, my neighbor texted me at midnight asking for the recipe because her husband wouldnt stop talking about them. I consider that the ultimate holiday compliment, honestly.
Ingredients
- All-purpose flour: The foundation that gives these cookies their tender crumb
- Unsweetened cocoa powder: Deep chocolate flavor without making them too heavy
- Baking soda: Helps the cookies puff just enough to hold their shape
- Salt: Balances the sweetness and enhances the cocoa
- Unsalted butter: Room temperature butter creamed with sugar creates that perfect texture
- Granulated sugar: Sweetens and helps create those slightly crisp edges
- Egg yolk: Adds richness without making the dough too soft
- Whole milk: Brings everything together and keeps the dough workable
- Vanilla extract: Pure vanilla makes all the difference here
- Red food coloring: Gel coloring works best for that signature velvet hue
- Cream cheese: Softened completely makes the filling silky smooth
- Powdered sugar: Sweetens the filling without adding graininess
Instructions
- Preheat and prep:
- Set your oven to 350F and line two baking sheets with parchment paper. This small step saves you so much cleanup later.
- Whisk the dry ingredients:
- Combine flour, cocoa powder, baking soda, and salt in a medium bowl. Set this aside while you work on the wet ingredients.
- Cream the butter and sugar:
- Beat the softened butter and granulated sugar for about 2 minutes until its light and fluffy. Youll notice the color pale slightly.
- Add the flavor makers:
- Mix in the egg yolk, milk, vanilla, and red food coloring. Keep beating until the color is evenly distributed throughout.
- Bring it together:
- Gradually fold in the dry ingredients until just combined. The dough will be soft but should hold its shape.
- Make the filling:
- In a separate small bowl, whisk cream cheese, powdered sugar, and vanilla until completely smooth. This fills those little thumbprint wells beautifully.
- Shape the cookies:
- Roll the dough into 1inch balls and place them 2 inches apart on your prepared baking sheets.
- Create the thumbprints:
- Gently press your thumb or the back of a teaspoon into the center of each ball. Go deeper than you think, the filling will settle.
- Fill and bake:
- Spoon about half a teaspoon of filling into each indentation. Bake for 11 to 13 minutes until the edges look set.
- Cool completely:
- Let them rest on the baking sheet for 5 minutes, then move to a wire rack. The filling firms up as they cool.
 Pin it
 My daughter now requests these for every school bake sale. They are the first to disappear, every single time.
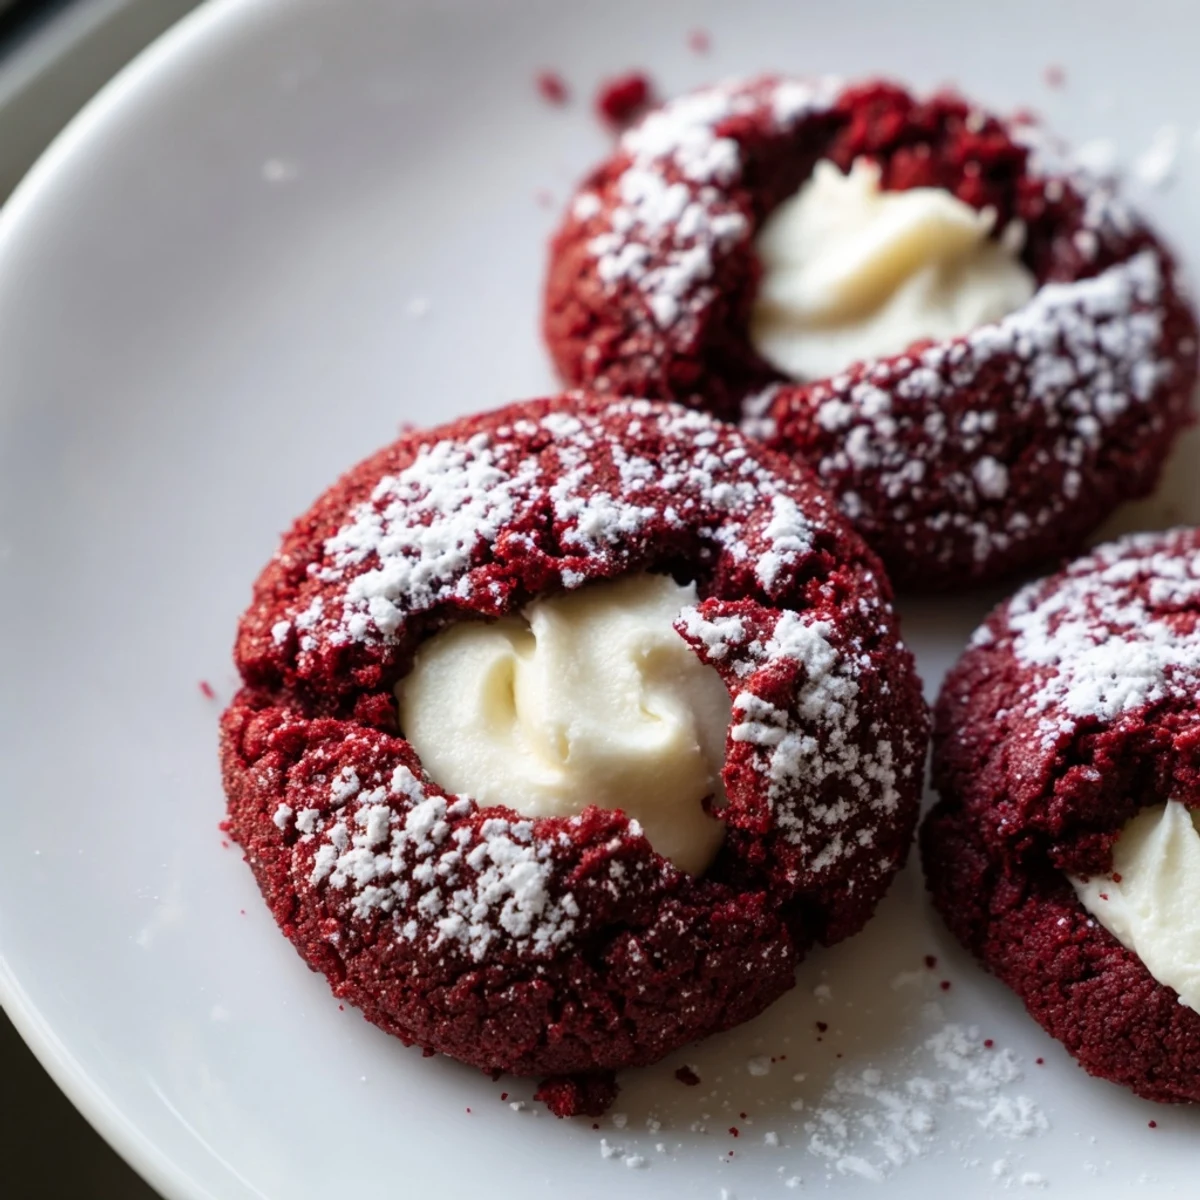
Making The Perfect Indentation
I have learned that the back of a measuring spoon creates a more uniform well than my thumb does. The key is pressing straight down, not at an angle, so the filling stays put during baking.
Getting That Velvet Color Right
Gel food coloring is worth the extra trip to the store. Liquid coloring can make the dough too sticky, but gel delivers that rich red without altering the texture at all.
Filling Variations Worth Trying
Sometimes I swap the cream cheese filling for white chocolate ganache when I want something even more indulgent. The trick is melting the chocolate slowly so it stays glossy and smooth.
- Try adding a pinch of sea salt on top before baking
- A drop of peppermint extract transforms these into holiday cookies
- Chopped white chocolate folded into the dough adds pockets of sweetness
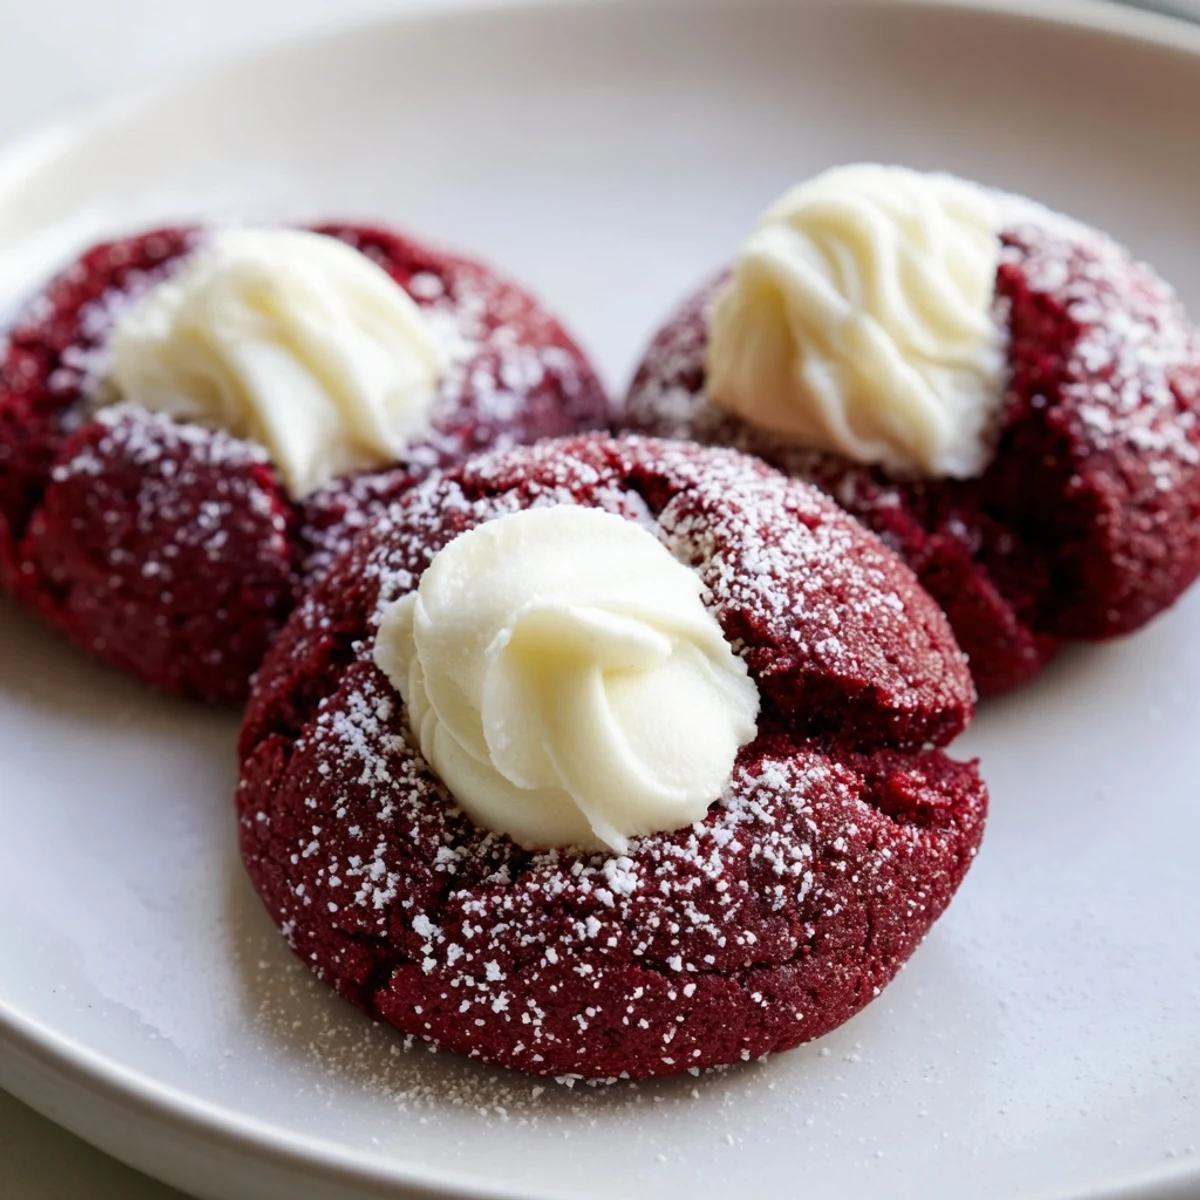 Pin it
 These cookies have become my go-to for bringing a little something special to ordinary weekdays. They make any Tuesday feel like a celebration.
Recipe FAQs
- → Can I make red velvet thumbprint cookies ahead of time?
-
Yes, these cookies store exceptionally well. Keep them in an airtight container in the refrigerator for up to 4 days. The cream cheese filling actually benefits from chilling, becoming firmer and easier to handle.
- → What other fillings work well in these cookies?
-
While cream cheese filling is classic, white chocolate ganache makes an excellent alternative. You could also use dark chocolate ganache, vanilla buttercream, or even a dollop of fruit preserves like raspberry or strawberry for contrast.
- → Why did my cookies spread too much while baking?
-
Excess spreading usually occurs when the dough is too warm or the butter was overly softened. Chill the dough balls for 15-20 minutes before baking if your kitchen is warm. Also ensure you're measuring flour correctly by spooning it into the measuring cup rather than scooping directly.
- → Can I freeze red velvet thumbprint cookies?
-
Absolutely. You can freeze the baked cookies for up to 3 months. Place them in a single layer on a baking sheet until frozen, then transfer to a freezer-safe container. Thaw in the refrigerator overnight before serving. Alternatively, freeze unbaked dough balls and bake fresh when needed.
- → How do I get the vibrant red color?
-
The red food coloring is essential for that signature red velvet hue. Use gel food coloring for more intense color with less liquid. Liquid food coloring works fine too—just start with 1 teaspoon and add more if desired. The cocoa powder can sometimes deepen the color slightly, so you may prefer a brighter red shade.
- → What's the best way to press the thumbprints?
-
Use your thumb to gently press into the center of each dough ball, or the back of a teaspoon measuring spoon for consistent size. Press about halfway through but not all the way to the bottom—this creates a well that holds the filling without it leaking during baking. If the edges crack, gently smooth them with your fingers.
