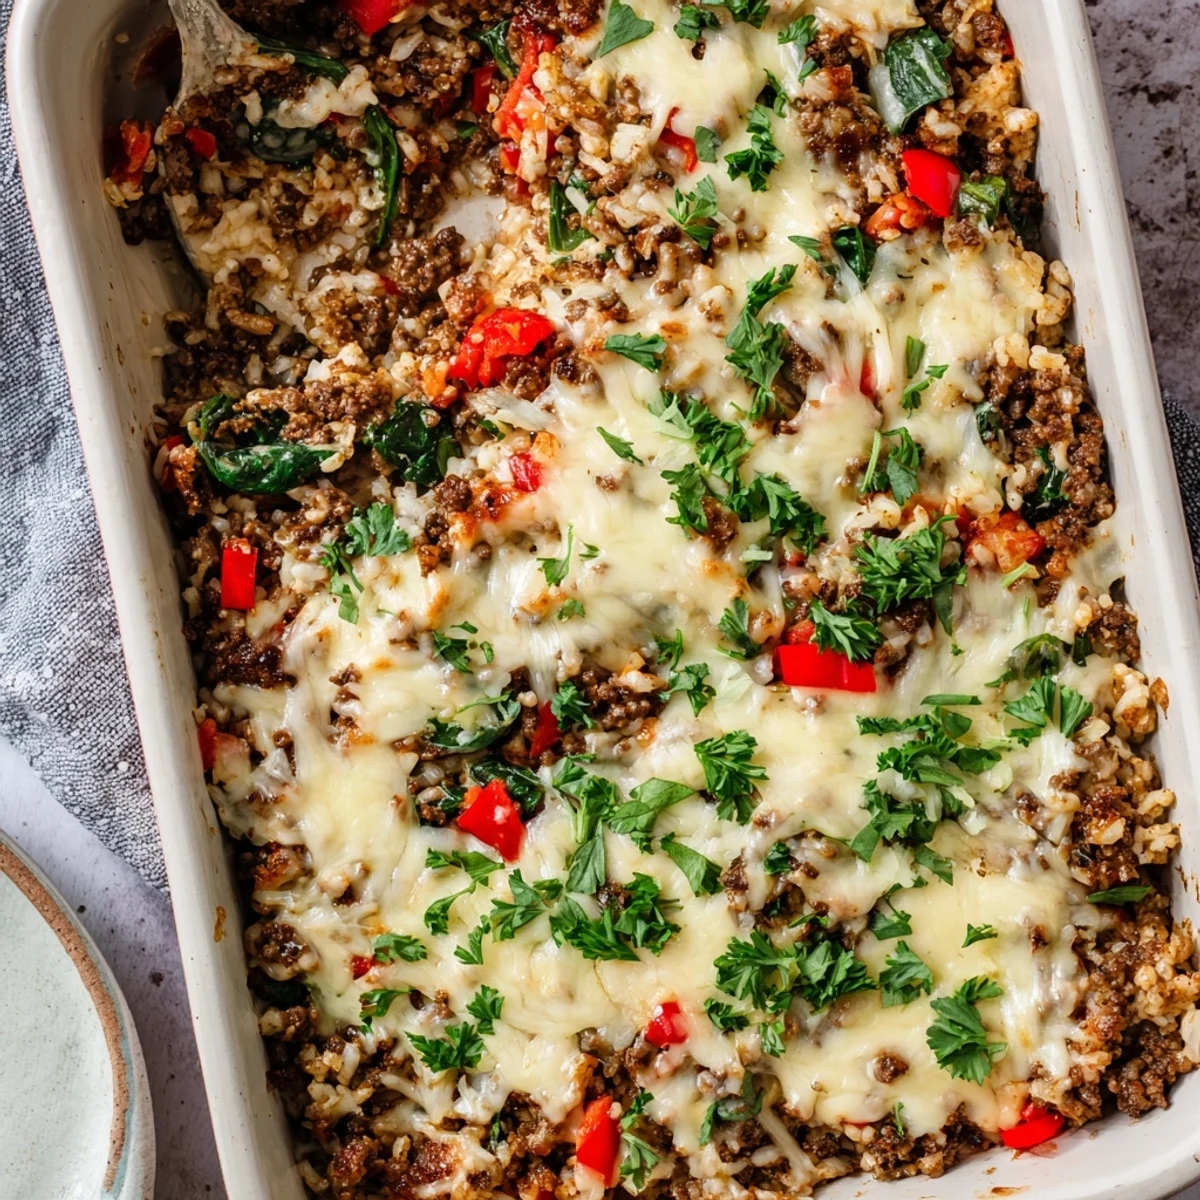
 Pin it
 This satisfying casserole combines seasoned ground beef with tender cauliflower rice for a low-carb twist on comfort food. The creamy layer of sour cream and melted cheddar-mozzella blend creates a rich, bubbly topping that everyone loves. Perfect for busy weeknights, this dish comes together in just 20 minutes of prep time and bakes to golden perfection.
Last winter, my sister came over complaining that she missed real comfort food while watching her carbs. I threw this together on a Tuesday night with whatever was in the fridge, and she texted me at 11 PM saying she'd already made it twice that week. The way the creamy sauce bubbles up through the cheese topping makes the whole house smell like a cozy Italian restaurant, but without the pasta coma afterward.
My husband was skeptical when I first served this. He took one bite, looked at me with those serious eyes, and asked if I was sure this was actually low carb. Now he requests it whenever the weather turns cold, and Ive started keeping cauliflower rice in the freezer just in case. The combination of smoked paprika and oregano creates this incredible depth that makes people think youve been cooking all day, even though it comes together in under an hour.
Ingredients
- 1 lb lean ground beef: I use 85/15 for the best flavor, but drain any excess fat so the casserole isnt greasy
- 1 medium onion, finely chopped: Small pieces are key here because they cook down into the sauce and add sweetness
- 3 cloves garlic, minced: Fresh garlic makes all the difference, and adding it when the beef is almost browned prevents burning
- 4 cups cauliflower rice: Fresh works best for texture, but frozen is fine, just squeeze out extra water after thawing
- 1 medium red bell pepper, diced: This adds little pockets of sweetness and color throughout the dish
- 1 cup baby spinach, chopped: Totally optional, but I love how it wilts into almost nothing while adding nutrients
- 1 cup sour cream: Full fat makes the sauce creamier and more satisfying
- 1 cup shredded cheddar cheese: Reserve half for the sauce and half for that golden cheesy crust on top
- 1/2 cup shredded mozzarella cheese: This creates those amazing cheese pulls when you serve it
- 2 tbsp olive oil: Helps the vegetables soften evenly without sticking
- 1 tsp dried oregano: Dried herbs work beautifully here since they bake into the beef
- 1 tsp dried basil: Combine with oregano for that classic Italian herb blend
- 1/2 tsp smoked paprika: This is the secret ingredient that adds subtle smokiness and depth
- 1/2 tsp salt and 1/2 tsp black pepper: Adjust these based on your preference, but dont skip them entirely
- 1/4 tsp crushed red pepper flakes: Adds just enough warmth to make things interesting
- 2 tbsp fresh parsley, chopped: Sprinkle this on at the end for a pop of fresh color and flavor
Instructions
- Get your oven ready:
- Preheat to 375F and grab a 9x13 baking dish, rubbing it with a little oil or butter
- Start the aromatics:
- Warm olive oil in a large skillet over medium heat, then cook onion and red pepper for 3-4 minutes until theyre soft and fragrant
- Add the garlic:
- Stir in minced garlic and cook for just 1 minute until it becomes aromatic, watching carefully so it doesnt brown
- Brown the beef:
- Add ground beef, breaking it apart with your spatula, and cook for 5-7 minutes until fully browned
- Season the mixture:
- Sprinkle in oregano, basil, smoked paprika, salt, pepper, and red pepper flakes, stirring until everything is coated
- Add the vegetables:
- Stir in cauliflower rice and spinach, cooking for 4-5 minutes until the cauliflower is tender
- Make it creamy:
- Remove from heat and fold in sour cream plus half the cheddar until the sauce is glossy and smooth
- Assemble the casserole:
- Spread everything evenly into your prepared baking dish, pressing it down slightly
- Add the cheesy topping:
- Scatter the remaining cheddar and all the mozzarella over the surface
- Bake until bubbly:
- Cook for 20 minutes until the cheese is melted and golden brown in spots
- Rest and serve:
- Let it sit for 5 minutes so it sets up, then sprinkle with parsley and serve warm
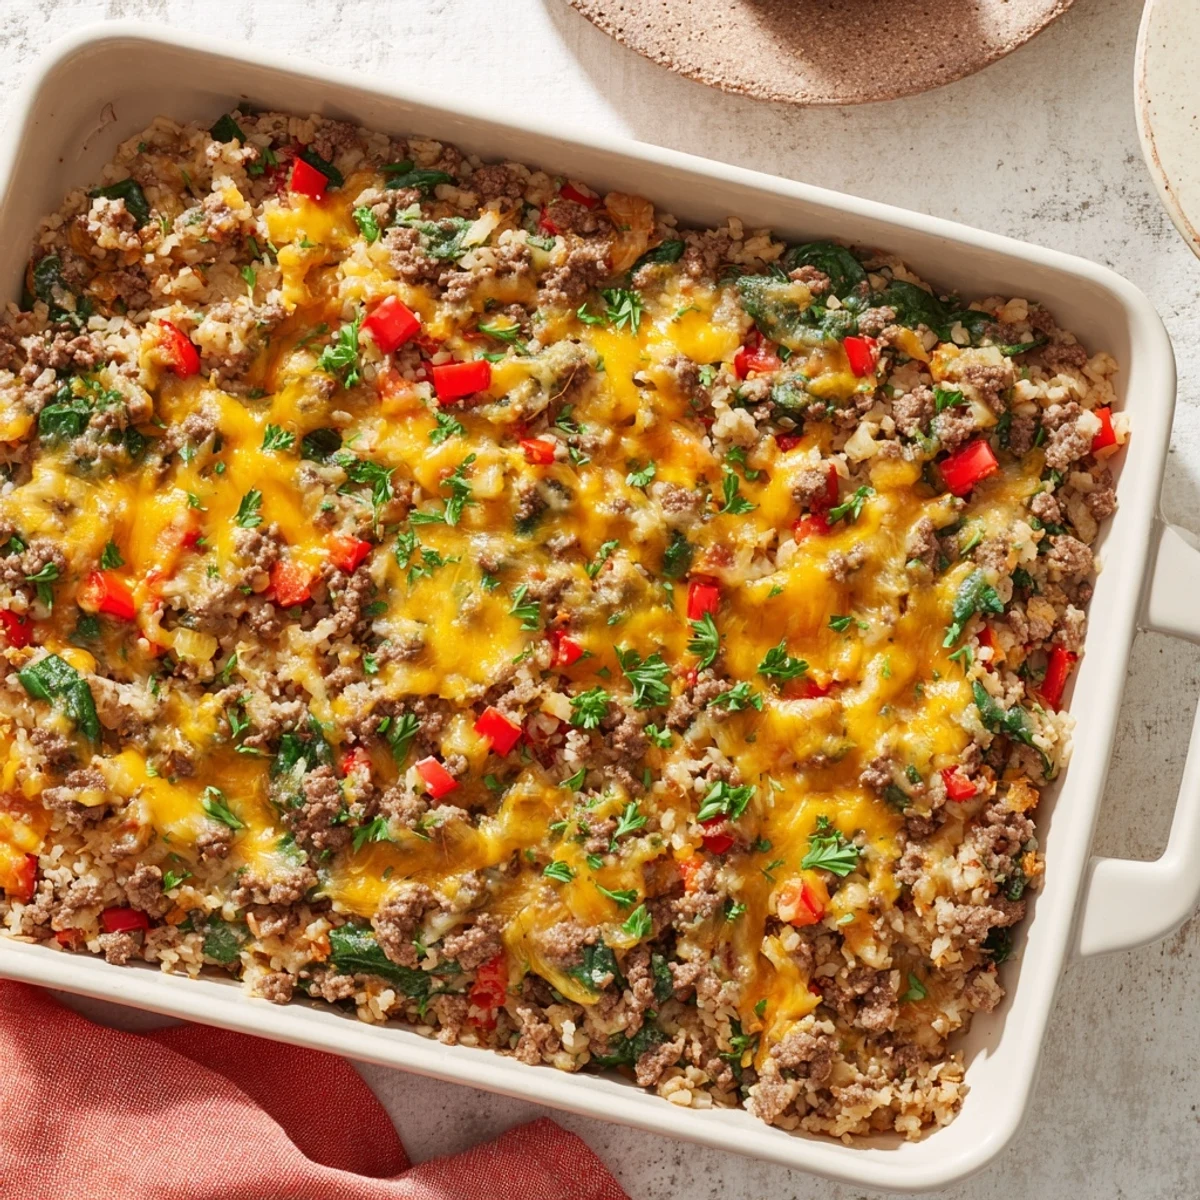 Pin it
 This recipe became our go-to when my dad started watching his carbs but still craved those Sunday dinner vibes. He actually asked for the recipe after just one bite, which is basically a five-star review coming from him. Theres something about pulling a bubbling, golden casserole out of the oven that makes dinner feel like an event, even on a random Tuesday.
Make Ahead Magic
You can assemble this entire casserole up to 24 hours before baking, just cover it tightly and refrigerate. Add about 5-10 extra minutes to the baking time if its cold from the fridge. I love doing this for meal prep or when company is coming over, since it frees up time for actually hanging out with people instead of being stuck in the kitchen.
Freezing Instructions
This casserole freezes beautifully either before or after baking. Wrap it tightly in plastic and foil for up to 3 months. Thaw overnight in the fridge before baking, or add 15-20 minutes to the cook time if baking from frozen. I always make a double batch and keep one in the freezer for those nights when cooking anything at all feels impossible.
Serving Ideas
A crisp green salad with vinaigrette cuts through the richness perfectly. Roasted broccoli or green beans on the side add more color to the plate without extra carbs. Sometimes I serve it with steamed asparagus when I want something elegant but still easy.
- Warm crusty bread for non low carb eaters at the table
- A simple arugula salad with lemon and olive oil
- Garlic roasted green beans for an easy vegetable side
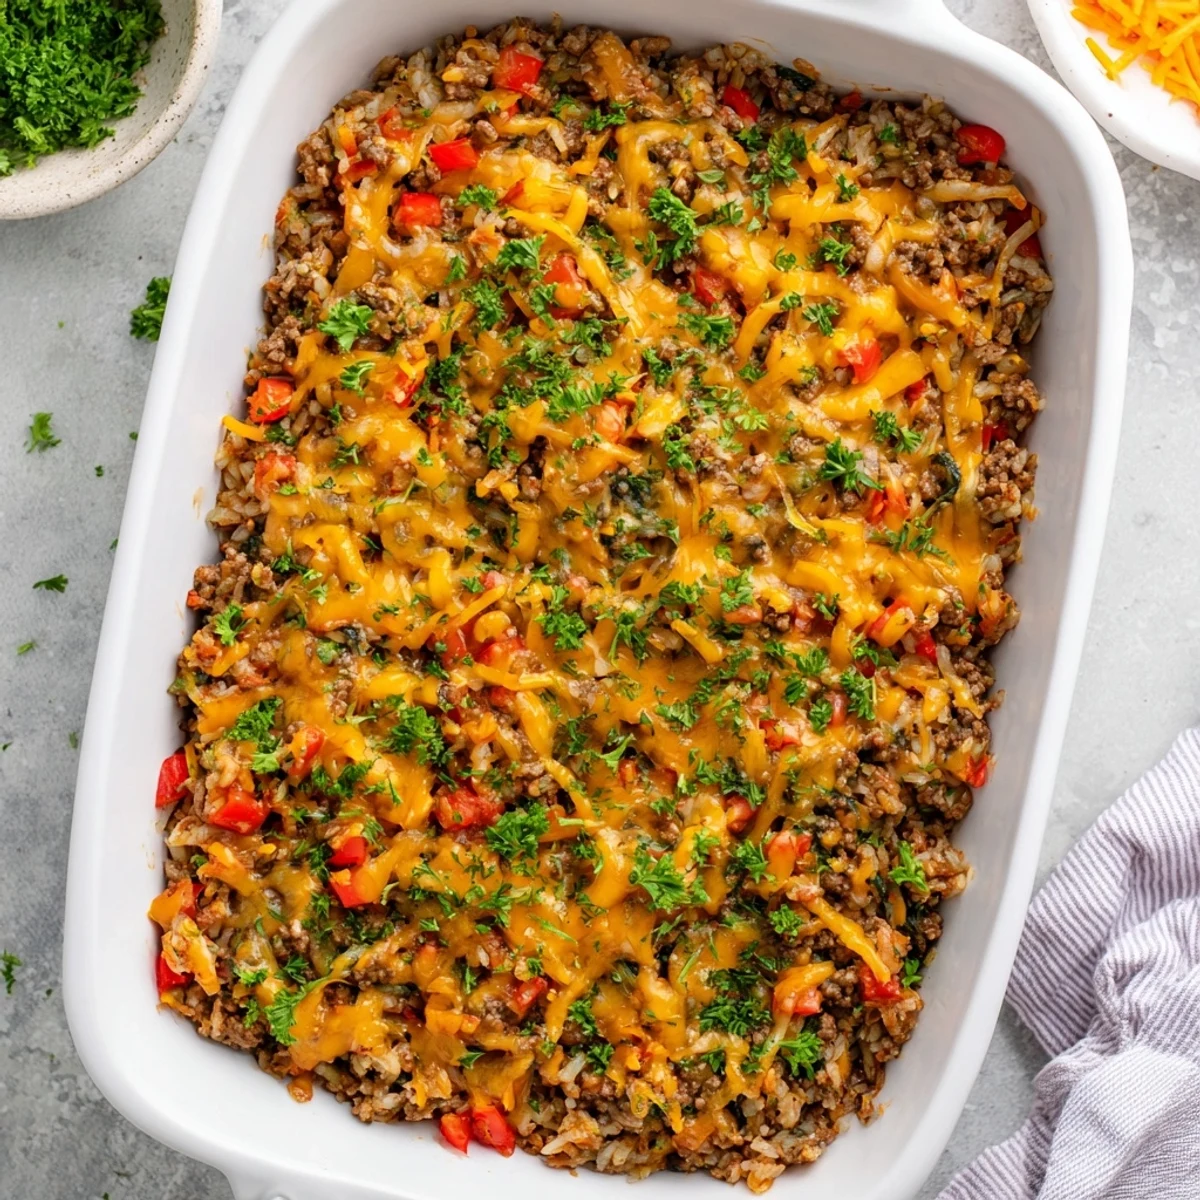 Pin it
 Heres to comfort food that actually loves you back.
Recipe FAQs
- → Can I freeze this casserole?
-
Yes, assemble the casserole before baking and freeze for up to 3 months. Thaw overnight in the refrigerator, then bake as directed, adding 10-15 minutes to the cooking time.
- → What vegetables work well as additions?
-
Mushrooms, zucchini, diced carrots, or broccoli florets make excellent additions. Add them during step 6 when cooking the cauliflower rice to ensure they're tender.
- → Can I make this dairy-free?
-
Absolutely. Substitute the sour cream with coconut cream or cashew cream, and use dairy-free shredded cheese alternatives. The texture and flavor will remain satisfying.
- → How long does this keep in the refrigerator?
-
Store leftovers in an airtight container for up to 4 days. Reheat individual portions in the microwave for 2-3 minutes or in a 350°F oven until warmed through.
- → Can I use frozen cauliflower rice?
-
Frozen cauliflower rice works perfectly and saves prep time. Cook it according to package directions first, or add it directly to the skillet and cook until excess moisture evaporates.
