 Pin it
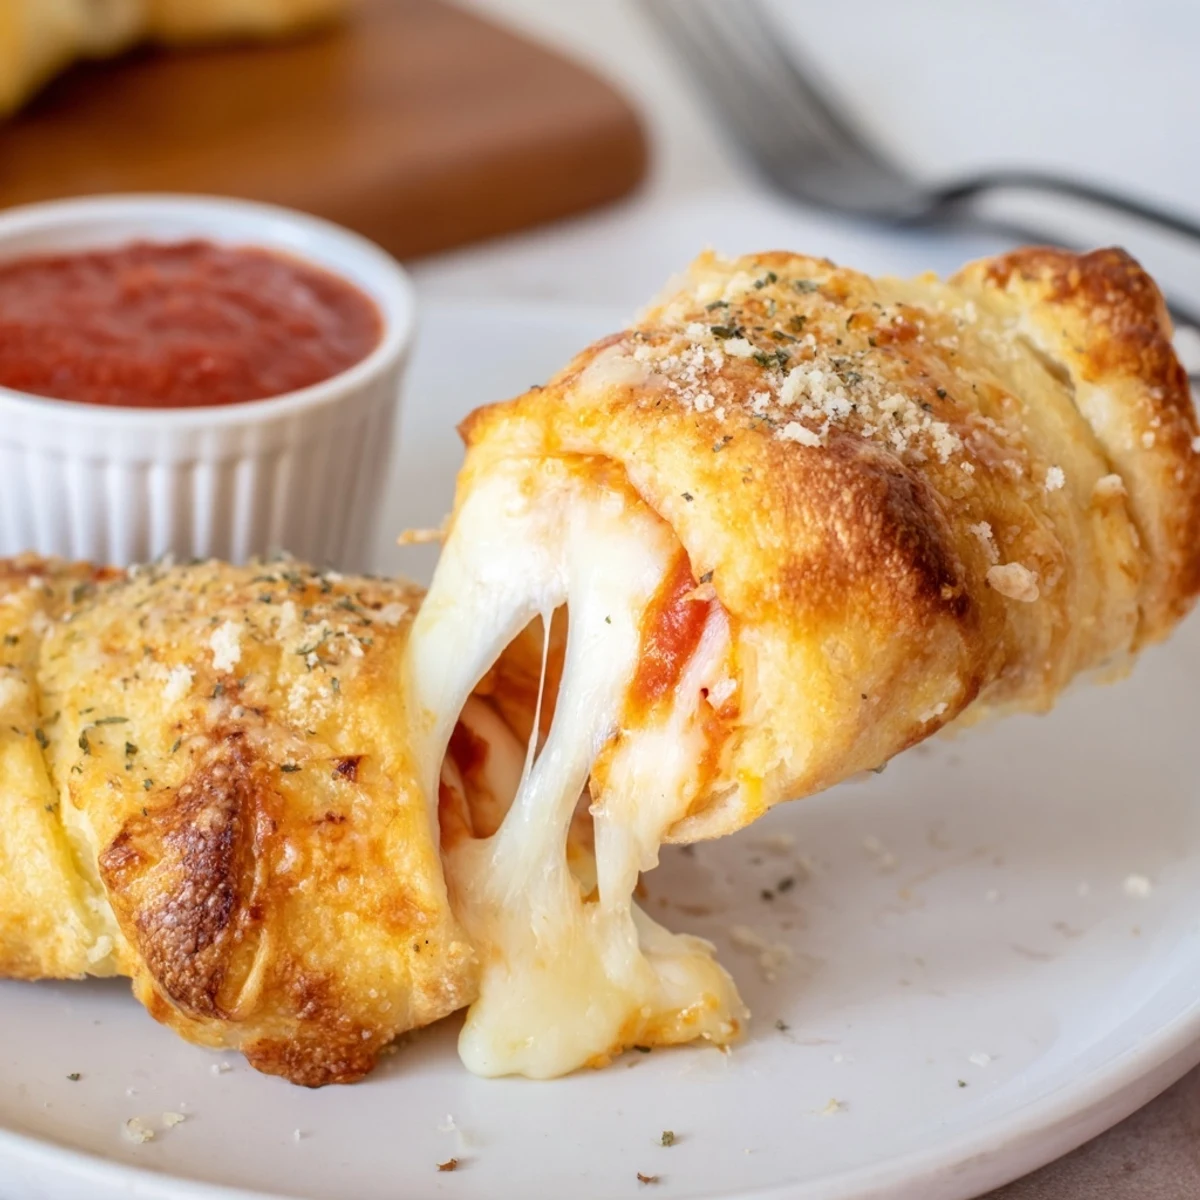
 These golden, crunchy roll ups are made by flattening sandwich bread, wrapping cheese sticks, brushing with butter and sprinkling a Parmesan-herb mix. Bake 8–10 minutes at 400°F or pan-fry until evenly browned. Ready in 20 minutes and yields 8. Try panko for extra crunch or add deli ham; serve warm with marinara. Contains gluten and dairy.
The first time the aroma of melting cheese and buttered bread drifted from my oven, I knew I was onto something. It wasn't so much a recipe as an experiment on a rainy afternoon when I craved crunch and comfort. I’d seen all kinds of cheesy snacks but wondered what would happen if I tried layering on more flavor with simple seasonings buried in my pantry. The result was this batch of roll ups that barely made it off the baking sheet before disappearing.
One evening, my neighbor wandered in mid-bake and ended up helping brush butter on the bread while telling stories about her childhood lunches. We both laughed when half the cheese sticks disappeared as 'taste tests'—not that anyone was fooled. These roll ups have since become the unofficial snack at our impromptu gatherings, the kind everyone expects the moment they hear the oven click on.
Ingredients
- White sandwich bread: Go for the classic soft kind—flattening it makes the outsides extra crisp, and it hugs the cheese like a dream.
- Mozzarella sticks (or cheddar): Mozzarella nails the pull factor, but cheddar gives a sharper, grown-up taste—both melt beautifully.
- Melted butter: This is what transforms simple bread into a golden, crunchy shell, so don't be shy when brushing.
- Grated Parmesan cheese: Adds that savory bite and turns crisp in the oven for texture no one expects.
- Garlic powder: Just a dash wakes up the bread and gives it real snack-shop flavor.
- Dried Italian herbs: These sprinkle a subtle fragrance that mingles with the cheese as they bake.
- Salt and pepper: Season as you like—sometimes less is more with good bread and cheese.
Instructions
- Start the heat:
- Preheat your oven to 400°F (200°C), or get your skillet warming over medium if you plan to pan fry—listen for that soft sizzle.
- Prep the bread:
- Use a rolling pin to flatten each slice to about 1/4 inch; you'll probably giggle at how thin it gets, but that's key to making it crisp.
- Add the cheese:
- Place a cheese stick along the edge, then roll up as tightly as you can, sealing the end with a brush of melted butter so it stays tucked in.
- Butter and season:
- Brush the outsides all over with more butter—no spot left behind—then sprinkle with your Parmesan, garlic, and herbs.
- Bake or fry:
- Line them on a tray seam-side down if baking, or put them straight into a skillet; turn (or rotate the tray) for even browning, about 8–10 minutes until deeply golden and crisp.
- Serve and enjoy:
- Let cool just long enough not to burn your fingers, then dunk into marinara or your favorite sauce while the cheese stretches.
 Pin it
 There was one Saturday when my cousin's kids got so excited watching the cheese melt and bubble through the oven door that they nearly missed their movie. That evening sealed this as our favorite 'movie night' treat.
Allergy and Dietary Swaps
If you're working around allergies, I've found swapping in gluten-free bread or using vegan cheese and margarine works for most dietary needs—just check all your labels and be aware the crisp factor changes slightly.
Best Ways to Serve These
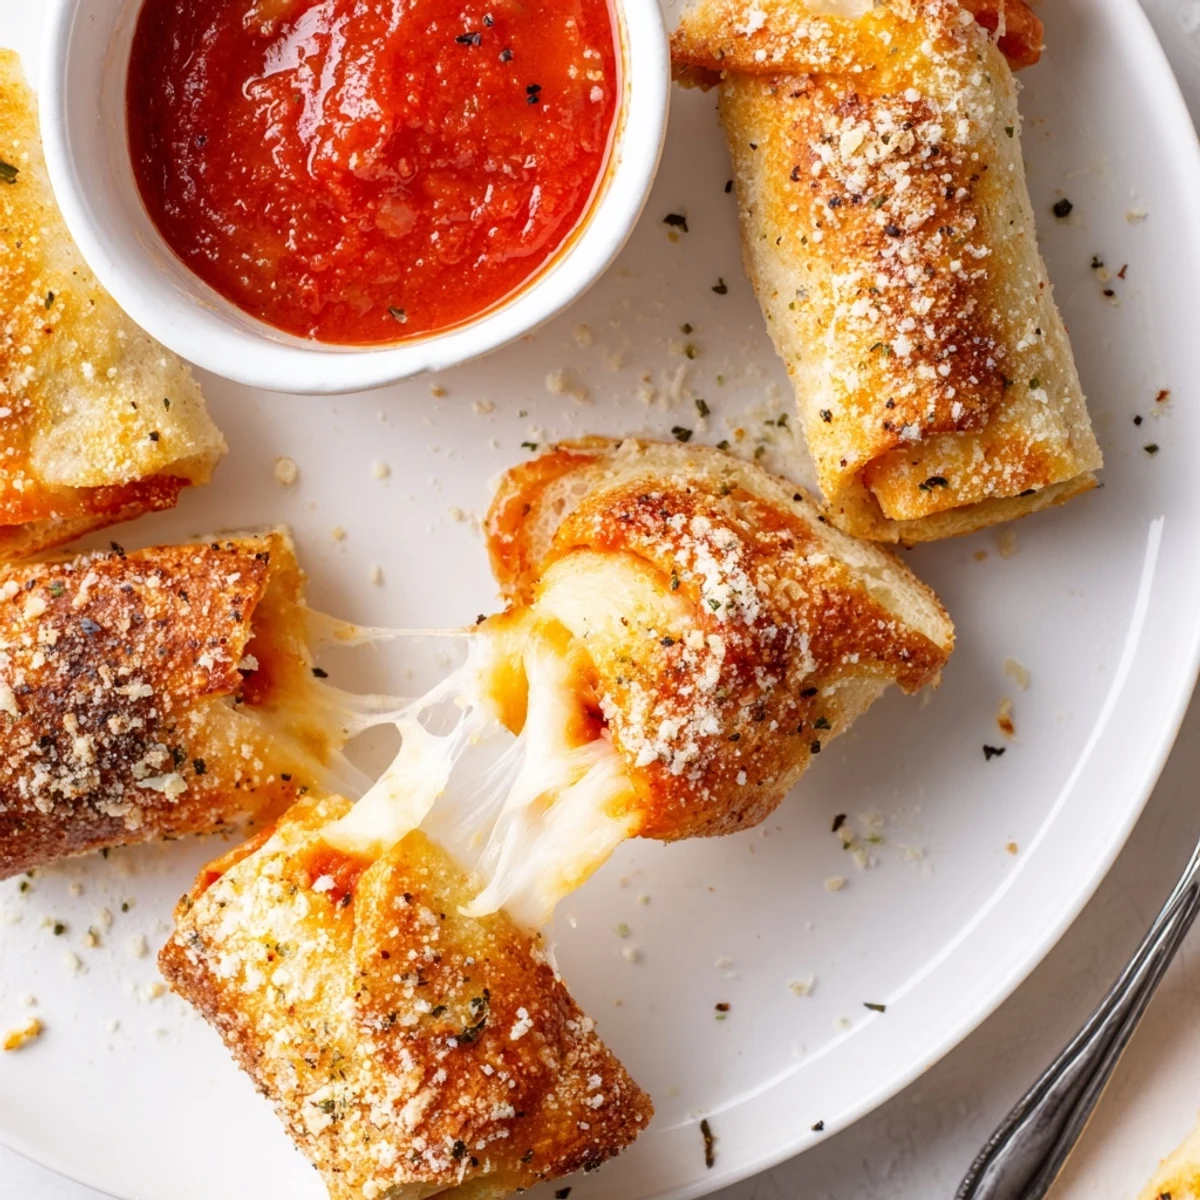
Honestly, plopping a plate of these roll ups in the middle of the table sparks conversation, but pairing them with tangy marinara or a spicy sriracha dip really gets people reaching for seconds.
Extra Crunch, Always
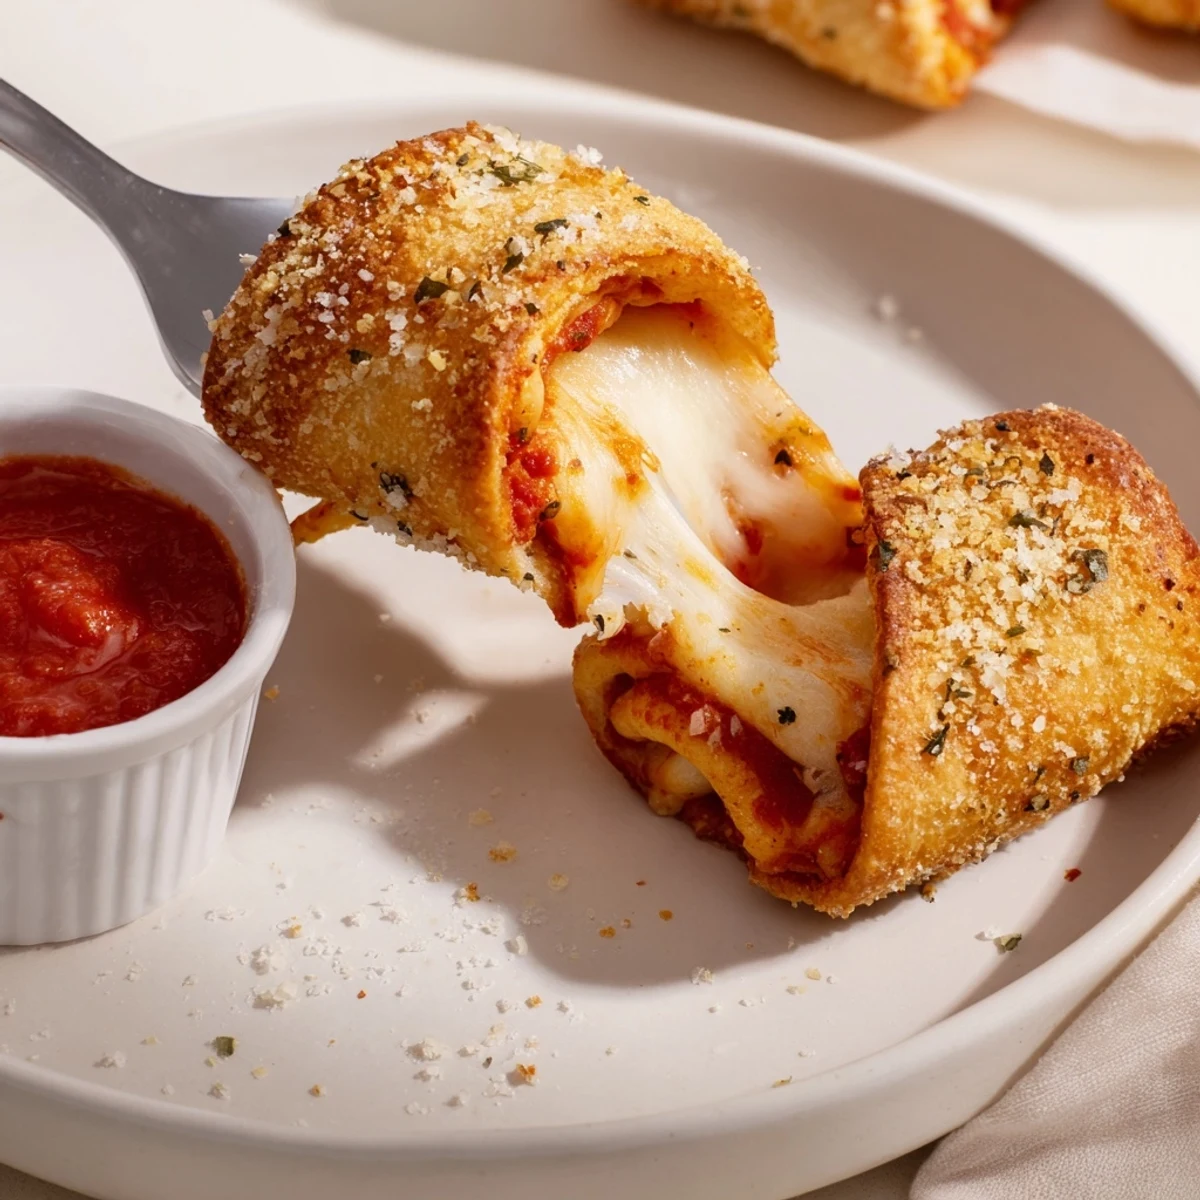
For those who cannot resist crunch, rolling the buttered bread briefly in panko breadcrumbs before baking takes texture up another notch, and kids get a real kick out of this extra step.
- Let the roll ups rest a minute before serving—they stay surprisingly hot inside.
- If you're pan-frying, keep a close eye so nothing burns.
- Remember to line your pan with parchment for easy clean-up.
 Pin it
 Sharing these cheesy roll ups always seems to spark laughter and conversation. Here’s to easy, crispy snacks that taste best straight from your kitchen with good company nearby.
Recipe FAQs
- → Can I use a different cheese?
-
Yes. Mozzarella gives the classic stretch; cheddar adds sharper flavor. Use low-moisture, firm sticks to avoid excess leakage. Shredded cheeses can be wrapped tightly but may melt faster.
- → How do I get extra crunch?
-
Roll the flattened bread in panko breadcrumbs before brushing with butter, or refrigerate the assembled rolls 10–15 minutes before baking. A higher oven heat for a short time also encourages a golden, crisp exterior.
- → Should I bake or pan-fry?
-
Baking yields even browning and is hands-off; pan-frying gives a quicker, slightly oilier crust and more control over browning. For larger batches, baking on parchment is easiest.
- → How should leftovers be stored and reheated?
-
Cool completely, then refrigerate in an airtight container for up to 48 hours. Reheat in a preheated oven or toaster oven at 350°F to restore crispness; avoid microwaving, which makes them soggy.
- → What fillings or variations work well?
-
Add thin deli ham, turkey, pepperoni, or a smear of pesto for extra flavor. Sprinkle extra grated Parmesan on top before baking for a nuttier crust.
- → Any swaps for gluten- or dairy-free needs?
-
Use gluten-free sandwich bread and plant-based cheese sticks to mimic texture. Note that dairy-free cheeses may melt differently and may require brief adjustments in cooking time.
