 Pin it
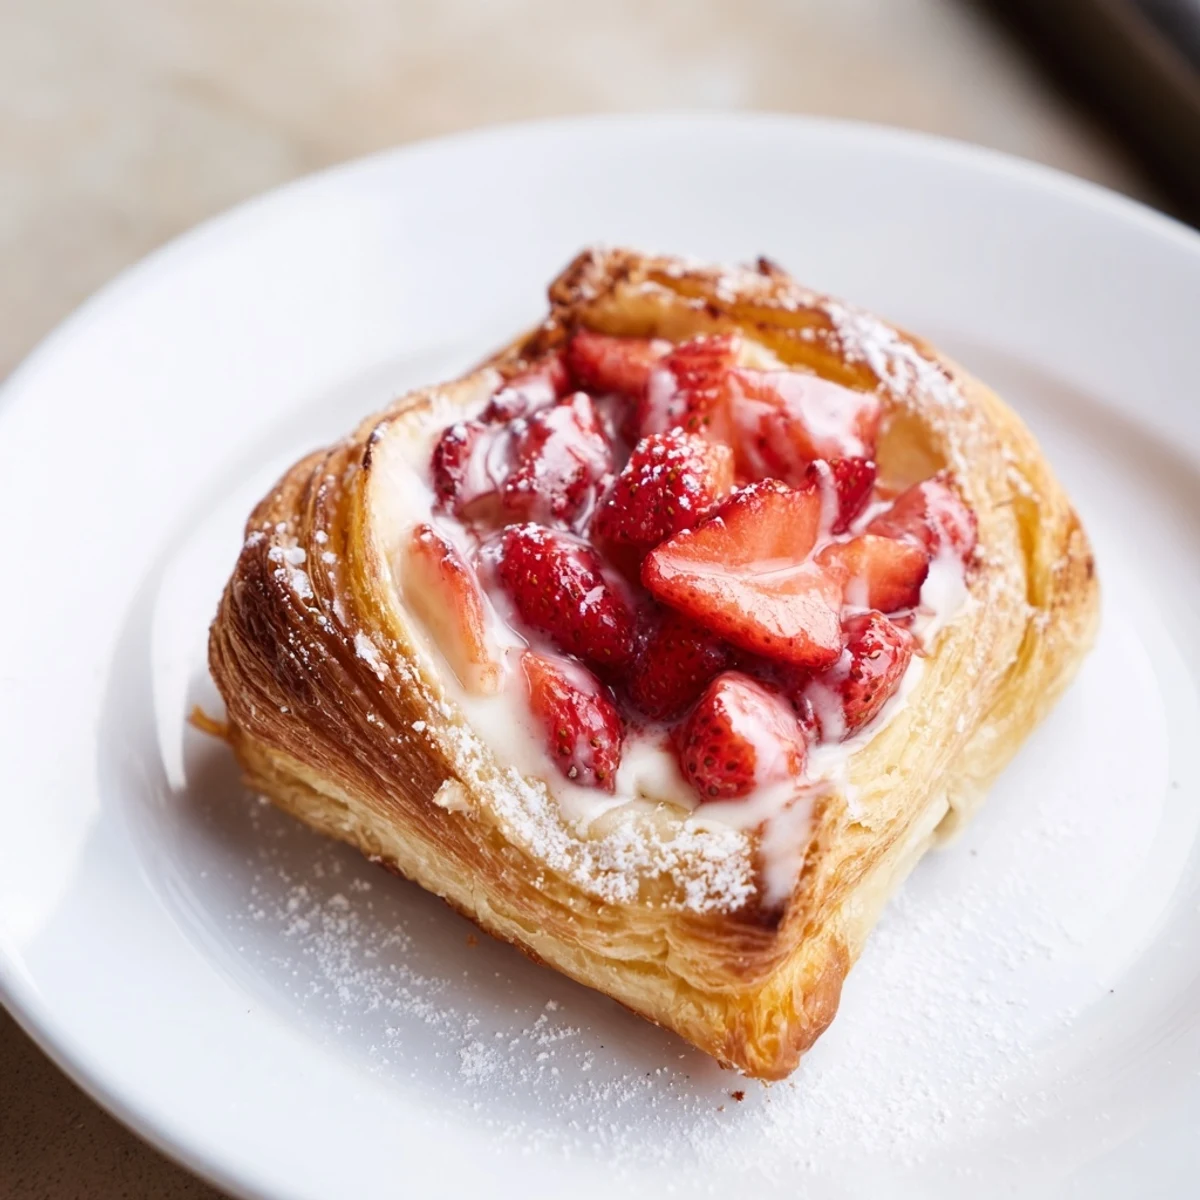
 Make 8 pastries in about 45 minutes total. Spoon a dollop of sweetened cream cheese onto 8 puff pastry squares, top with macerated strawberries, brush borders with egg wash and bake at 200°C (400°F) until puffed and golden, about 18–22 minutes. Cool slightly before glazing.
Tip: drain excess berry juice to avoid a soggy base, chill the pastry if it softens during assembly, and swap raspberries or blueberries for variation. Yield: 8 pastries.
The smell of sweet strawberries and buttery pastry drifting from the oven is impossible to resist. One weekday morning, curiosity nudged me to try my hand at these Strawberry Danishes while the city was still quiet. As the dough puffed and the cheese filling melted, I couldn’t help but pause, spoon in hand, to soak up the anticipation wafting through my tiny kitchen. The first hot bite was pure flaky, creamy bliss.
Baking these for a few friends on a rainy Saturday turned the whole kitchen cheerful. We joked about our uneven pastry squares and snuck tastes of the strawberry filling between laughs, making the process as sweet as the result. Not a crumb survived the morning, which is saying something since my brother swore he didn’t even like fruit desserts. Turns out, warm Danishes change minds.
Ingredients
- Puff pastry sheet: Using pre-made puff pastry saves time and guarantees lofty, flaky layers—just be sure not to let it get too warm or it’ll be tricky to handle.
- Cream cheese: Softened cream cheese whips smooth for a luxurious, not-too-sweet filling; avoid cold cheese or it’ll clump.
- Granulated sugar: Adds just enough sweetness against the tart berries and tangy cheese, both in the filling and fruit.
- Vanilla extract: Just a splash makes the filling taste bakery-fresh—don’t skip it.
- Lemon zest: Lifts everything with a bright zing, and if you grate it over the bowl, you’ll catch every citrusy scent.
- Fresh strawberries: Juicy strawberries are the star—dice them small so they nestle perfectly into the pastry.
- Lemon juice: Helps keep the strawberry flavor sharp and balances sweetness.
- Cornstarch: Thickens the fruit mixture so you don’t get soggy bottoms.
- Egg: Gives the Danishes their deep golden, glossy finish, like something out of a French window display.
- Milk: Mixed into the egg wash for extra shine, and used in the glaze for the right drizzle consistency.
- Powdered sugar: Whisked into the glaze for a sweet and silky finish—don’t be shy, go for big zig-zags.
Instructions
- Heat the stage:
- Preheat your oven to 200°C (400°F) and line your baking tray with parchment for a fuss-free cleanup later.
- Mix the creamy middle:
- Whip cream cheese with sugar, vanilla, and lemon zest using a spoon or whisk—when it’s light and pale, it’s ready.
- Prep the fruit:
- In a separate bowl, toss diced strawberries with sugar, lemon juice, and cornstarch until glossy and juicy.
- Shape the dough:
- Unfurl the puff pastry and cut into 8 squares. Lightly score a 1cm border on each so the edges puff up dramatically as they bake.
- Layer the cheese:
- Spoon about a tablespoon of the cream cheese filling in the center of each square and gently spread inside the border—don’t get too close to the edge or it’ll spill out.
- Add the berries:
- Top each cream cheese pool with a spoonful of the glossy strawberry mix, nestling some pieces right into the cheese.
- Brush and bake:
- Mix egg and milk, then brush the pastry borders so they’ll bake crisp and golden. Pop into the oven for 18-22 minutes, checking for high rise and deep color.
- Cool with patience:
- Transfer hot Danishes to a wire rack and let them cool just enough so the glaze won’t melt right off.
- Glaze with flair:
- Whisk powdered sugar with milk and vanilla until smooth and drizzle generously over each pastry in casual zigzags.
 Pin it
 Nothing brings people closer than gathering over a tray of homemade pastries with coffee in hand, laughing as we compare who managed the neatest glaze. That morning, our kitchen table buzzed with stories and strawberry-flecked smiles that lasted longer than the pastries themselves.
No-Fuss Variations and Substitutions
One of my favorite discoveries is how versatile this pastry can be—swap out strawberries for raspberries, blueberries, or a medley, especially when you stumble upon a good deal at the market. If you’re using frozen berries, just promise me you’ll drain them well so the filling doesn’t get runny. I’ve even mixed in a spoonful of jam with the cheese when I’m short on fruit, and the result still disappears just as quickly!
Make-Ahead Magic
Lazy mornings deserve pastries without a rush—so I often make the cheese filling and slice the strawberries the night before, storing them separately in the fridge. The next day, assembly is a joyful ten-minute affair (even with half-open eyes), and the aroma still manages to gently nudge everyone out of bed. Leftovers can be refreshed in a low oven—though, honestly, there rarely are any.
Troubleshooting & Quick Fixes
Sometimes my borders leak when I rush the scoring, or my filling pools to one side if I don’t spread carefully—don’t worry, they still taste amazing. If the bottoms seem pale, a few extra minutes in the oven brings them to crispy perfection. And if your glaze seems runny, just add a bit more powdered sugar until it clings just right.
- Don’t stress about perfect squares, rustic edges are charming.
- Taste your berries; add extra sugar if they’re tart.
- Always give pastries room to puff on the tray—crowded Danishes end up flat.
 Pin it
 Whether whisked together for a weekend treat or made to share, these Strawberry Danishes are bound to spark little moments of joy. Happy baking—may your kitchen fill with warmth and the scent of something special.
Recipe FAQs
- → Can I use frozen strawberries?
-
Yes. Thaw fully and drain or pat dry to remove excess liquid. Toss the berries with a little cornstarch and sugar to thicken juices before filling to prevent a soggy pastry base.
- → How do I keep the center from getting soggy?
-
Drain macerated berries and use cornstarch to bind juices. Score a border on the pastry to contain the filling and brush the border with egg wash to create a moisture barrier.
- → What puff pastry should I use?
-
Use high-quality sheet puff pastry (preferably all-butter for better flavor). Keep it cold while working to preserve layers and ensure a flaky rise during baking.
- → Can these be prepared ahead?
-
Yes. Assemble on the baking tray, cover, and refrigerate for a short time before baking. You can also freeze unbaked assembled pastries on a tray, then transfer to a bag and bake from frozen with a few extra minutes.
- → How do I get a shiny glaze?
-
Whisk powdered sugar with a small amount of milk and vanilla until smooth. Drizzle over cooled pastries; for a glossier finish, add a tiny splash more milk to reach a thinner consistency.
- → What oven temperature and timing work best?
-
Bake at 200°C (400°F) for about 18–22 minutes, until the pastry is well puffed and golden. Oven times vary—watch for color and lift rather than relying solely on time.
