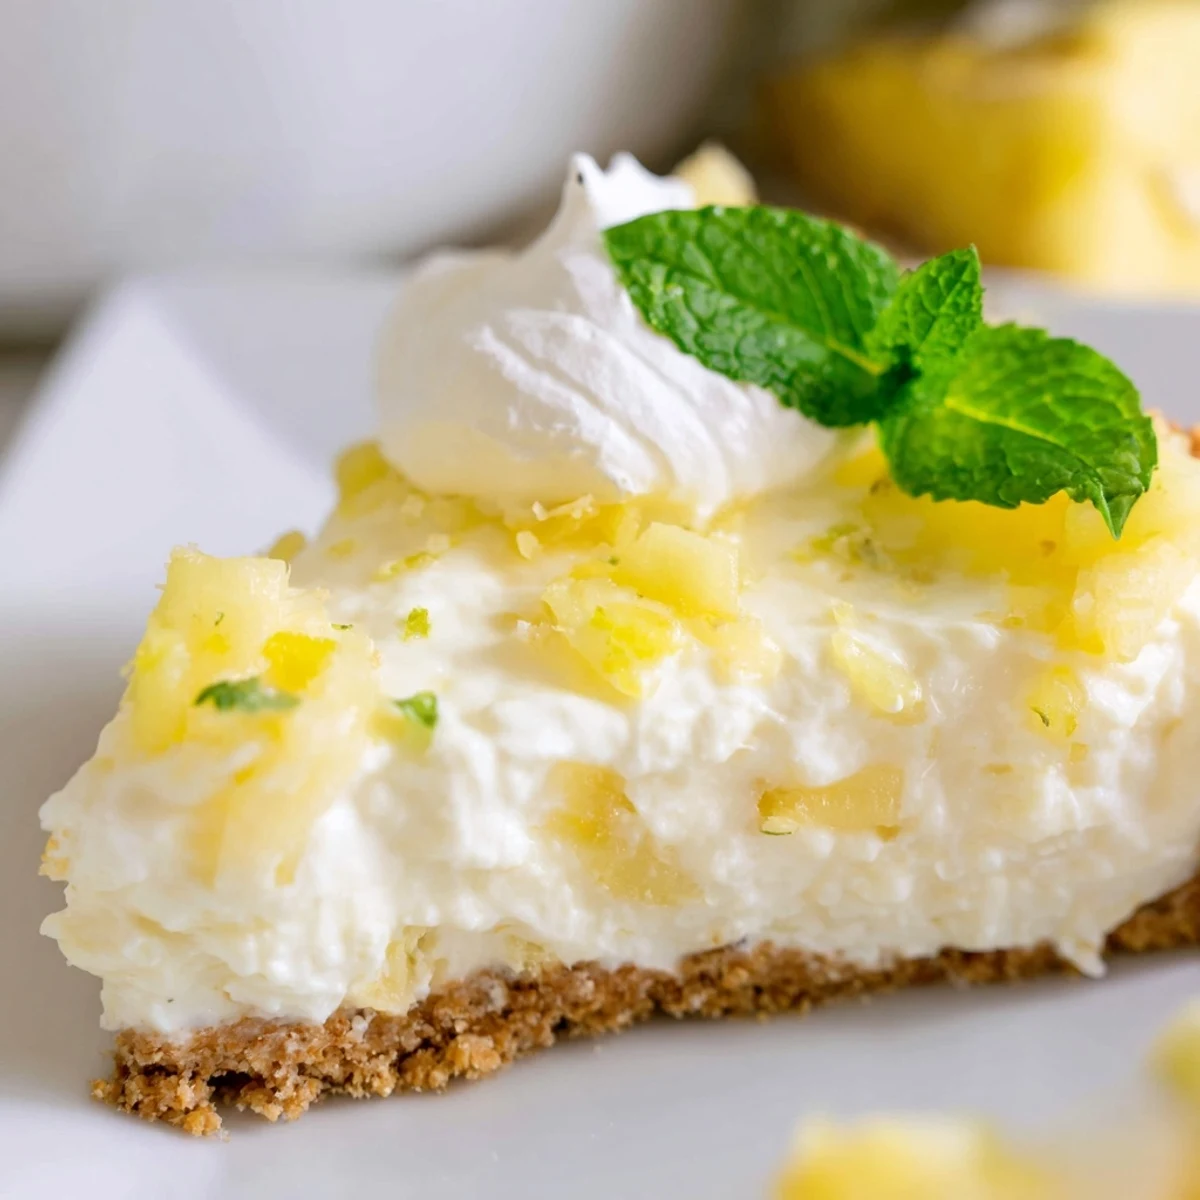
 Pin it
 This luscious no bake dessert combines smooth cream cheese filling with sweet crushed pineapple, all resting on a classic buttery graham cracker base. The tropical fruit adds brightness while keeping things light and refreshing—ideal for warm weather gatherings when you want something special without heating up the kitchen.
Prepare the crust in minutes, then whip together the creamy filling with just a few simple steps. After chilling until set, top with extra pineapple and your favorite garnishes for an impressive presentation.
The dead of July, my apartment AC had given up the ghost, and somehow I'd promised to bring dessert to a potluck. Standing in my kitchen, already sweating at 9 AM, the idea of turning on my oven felt like actual madness. That's when I remembered my grandmother talking about those old-fashioned refrigerator pies—cool, creamy, and absolutely no heat required.
My cousin took one bite and demanded the recipe right then at the picnic table, ignoring her potato salad. Something about the combination of tart pineapple and that velvety filling just makes people's eyes go wide. Now it's my go-to whenever summer temperatures climb past bearable.
Ingredients
- Graham cracker crumbs: The foundation needs to hold together, so press firmly into that springform pan like you mean it
- Unsalted butter: Melted thoroughly so every crumb gets coated and the crust sets up properly
- Granulated sugar: Just enough to make the crust sing without overpowering the filling
- Cream cheese: Absolutely must be softened to room temperature or you'll fight lumps forever
- Heavy whipping cream: Cold from the refrigerator, this is what gives the filling that dreamy mousse-like texture
- Powdered sugar: Dissolves beautifully into the mixture without leaving grainy spots
- Vanilla extract: Don't skip this—it bridges the gap between cream cheese and pineapple perfectly
- Crushed pineapple: Drain it thoroughly, seriously press down on those chunks or your filling will be sad and loose
- Lemon zest: Brightens everything and cuts through the richness
- Extra pineapple for topping: Well-drained again, because nobody wants a weepy dessert situation
Instructions
- Build the Foundation:
- Mix those graham cracker crumbs with melted butter and sugar until everything is evenly coated and smells like buttery heaven.
- Press and Chill:
- Press the mixture firmly into your springform pan, using the bottom of a measuring cup to really pack it down tight, then tuck it in the fridge to firm up.
- Cream the Cheese:
- Beat that softened cream cheese until it's silky smooth, with absolutely no lumps remaining in the bowl.
- Add the Flavor:
- Mix in the powdered sugar, vanilla, lemon zest, and that precious reserved pineapple juice until everything's fully incorporated.
- Fold in the Fruit:
- Gently fold in the drained crushed pineapple, being careful not to overwork the mixture.
- Whip the Cream:
- In a separate bowl, whip that cold heavy cream until stiff peaks form—it should hold its shape when you lift the beaters.
- Combine and Fill:
- Fold the whipped cream into the cream cheese mixture gently, keeping as much air in there as possible, then spread it over your chilled crust.
- The Hardest Part:
- Cover and refrigerate for at least four hours, though overnight is even better for the most spectacular texture.
- Final Flourish:
- Top with extra crushed pineapple right before serving, maybe add some whipped cream and mint if you're feeling fancy.
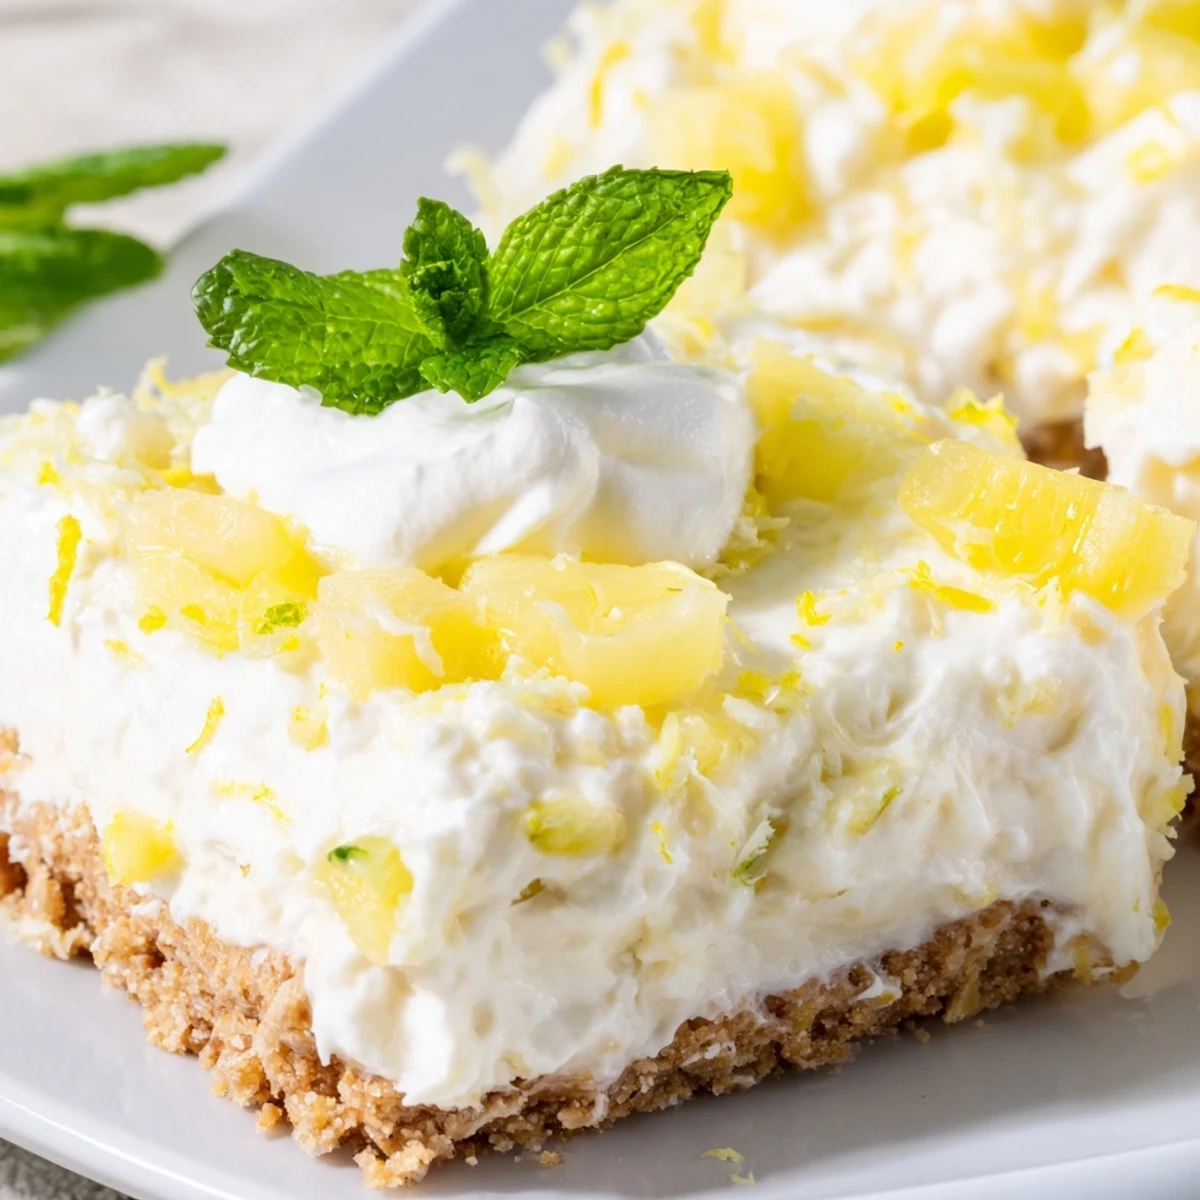 Pin it
 There's something almost magical about slicing into a dessert that required zero baking time but tastes like you spent all day on it. My aunt still insists there's some secret technique I'm not telling her about.
Making It Your Own
Toast up some coconut flakes and sprinkle them over the top for a tropical twist that'll have everyone asking for seconds. Sometimes I'll fold in some macadamia nuts for that extra crunch factor.
Texture Secrets
The contrast between the crisp, buttery crust and that airy filling is what makes this cheesecake sing. Don't rush the chilling time—the wait is absolutely worth it for that perfect slice.
Serving Suggestions
This dessert shines brightest when served ice-cold on a hot day, maybe after a spicy meal. Keep things simple and let the pineapple be the star.
- Use a hot knife wiped clean between slices for picture-perfect portions
- Let it sit out for just five minutes before serving for the ideal texture
- Leftovers actually taste better the next day if they last that long
 Pin it
 Standing over that potluck table, watching friends go back for third servings, I knew this refrigerator miracle had earned its permanent spot in my summer rotation.
Recipe FAQs
- → How long does this need to chill?
-
Refrigerate for at least 4 hours until completely set. For best results, make it the night before serving to allow flavors to meld together fully.
- → Can I use fresh pineapple instead of canned?
-
Yes, fresh pineapple works well. Crush it finely and drain thoroughly to prevent excess moisture from making the filling too loose. Canned pineapple in juice tends to be sweeter and more consistent.
- → How should I store leftovers?
-
Keep covered in the refrigerator for up to 5 days. The texture remains creamy and the crust stays crisp. For longer storage, wrap individual slices and freeze for up to 2 months.
- → What can I substitute for graham crackers?
-
Try digestive biscuits, vanilla wafers, or gluten-free cookies for the crust. Crush them finely and mix with melted butter—the same ratio works beautifully for most cookie varieties.
- → Can I make this ahead for a party?
-
Absolutely! This actually tastes better when made 1-2 days in advance, giving the flavors time to develop. The texture remains perfectly creamy, making it ideal for stress-free entertaining.
- → Why is my filling not setting properly?
-
Ensure heavy cream is whipped to stiff peaks before folding in, and that pineapple is well-drained. Using room temperature cream cheese also helps achieve the proper consistency for setting.
